
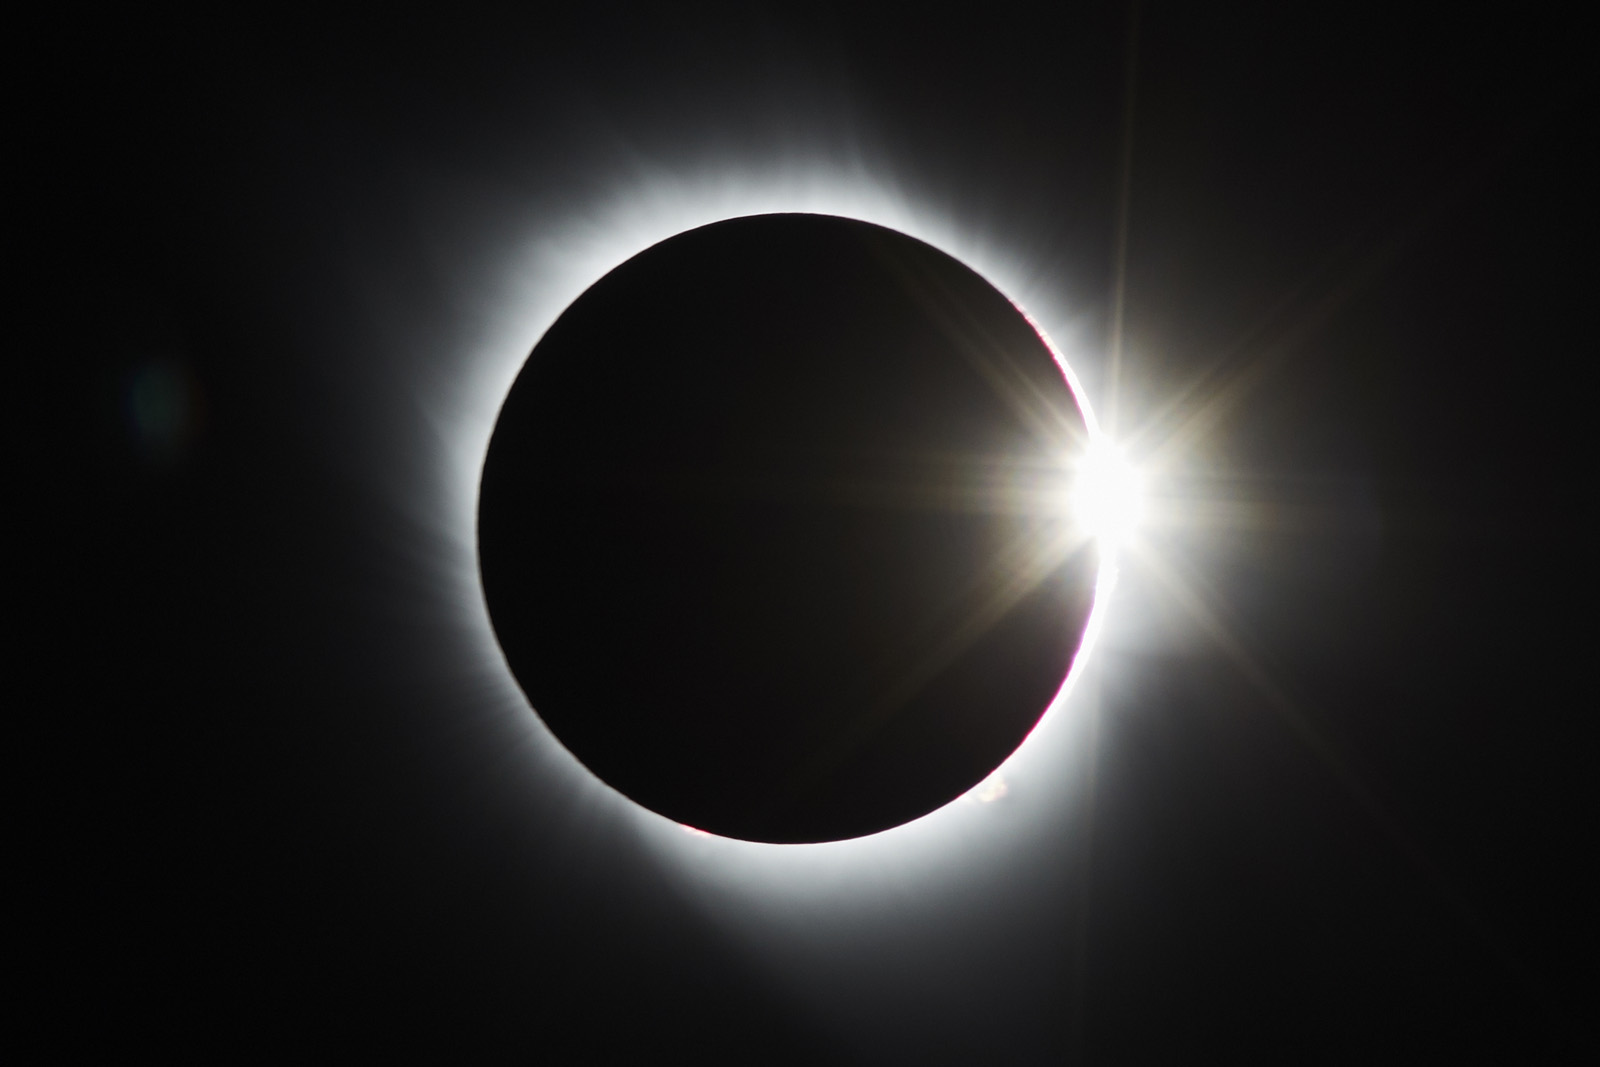
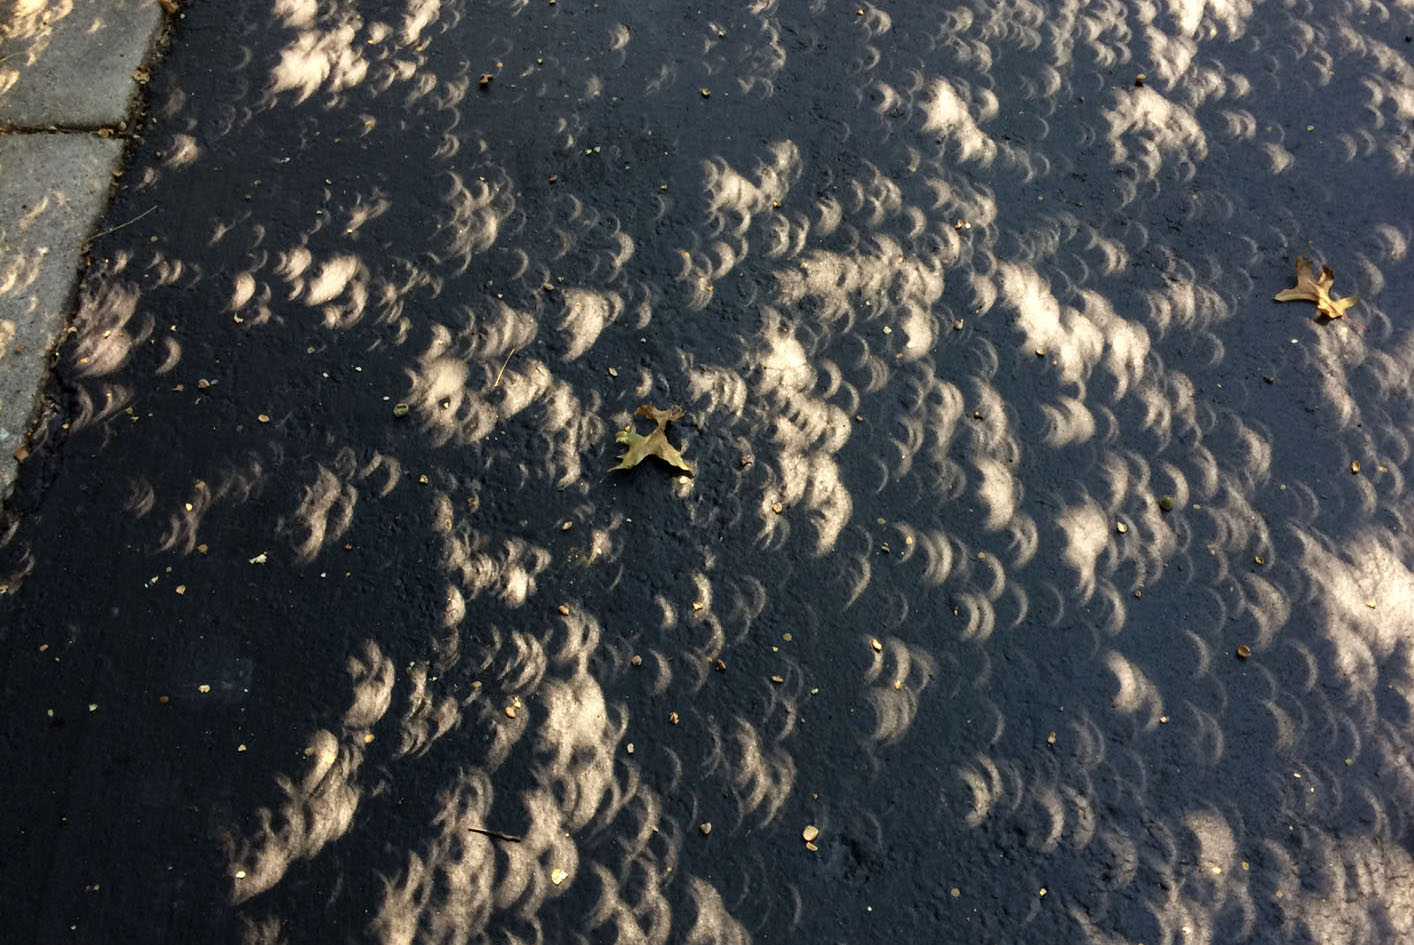
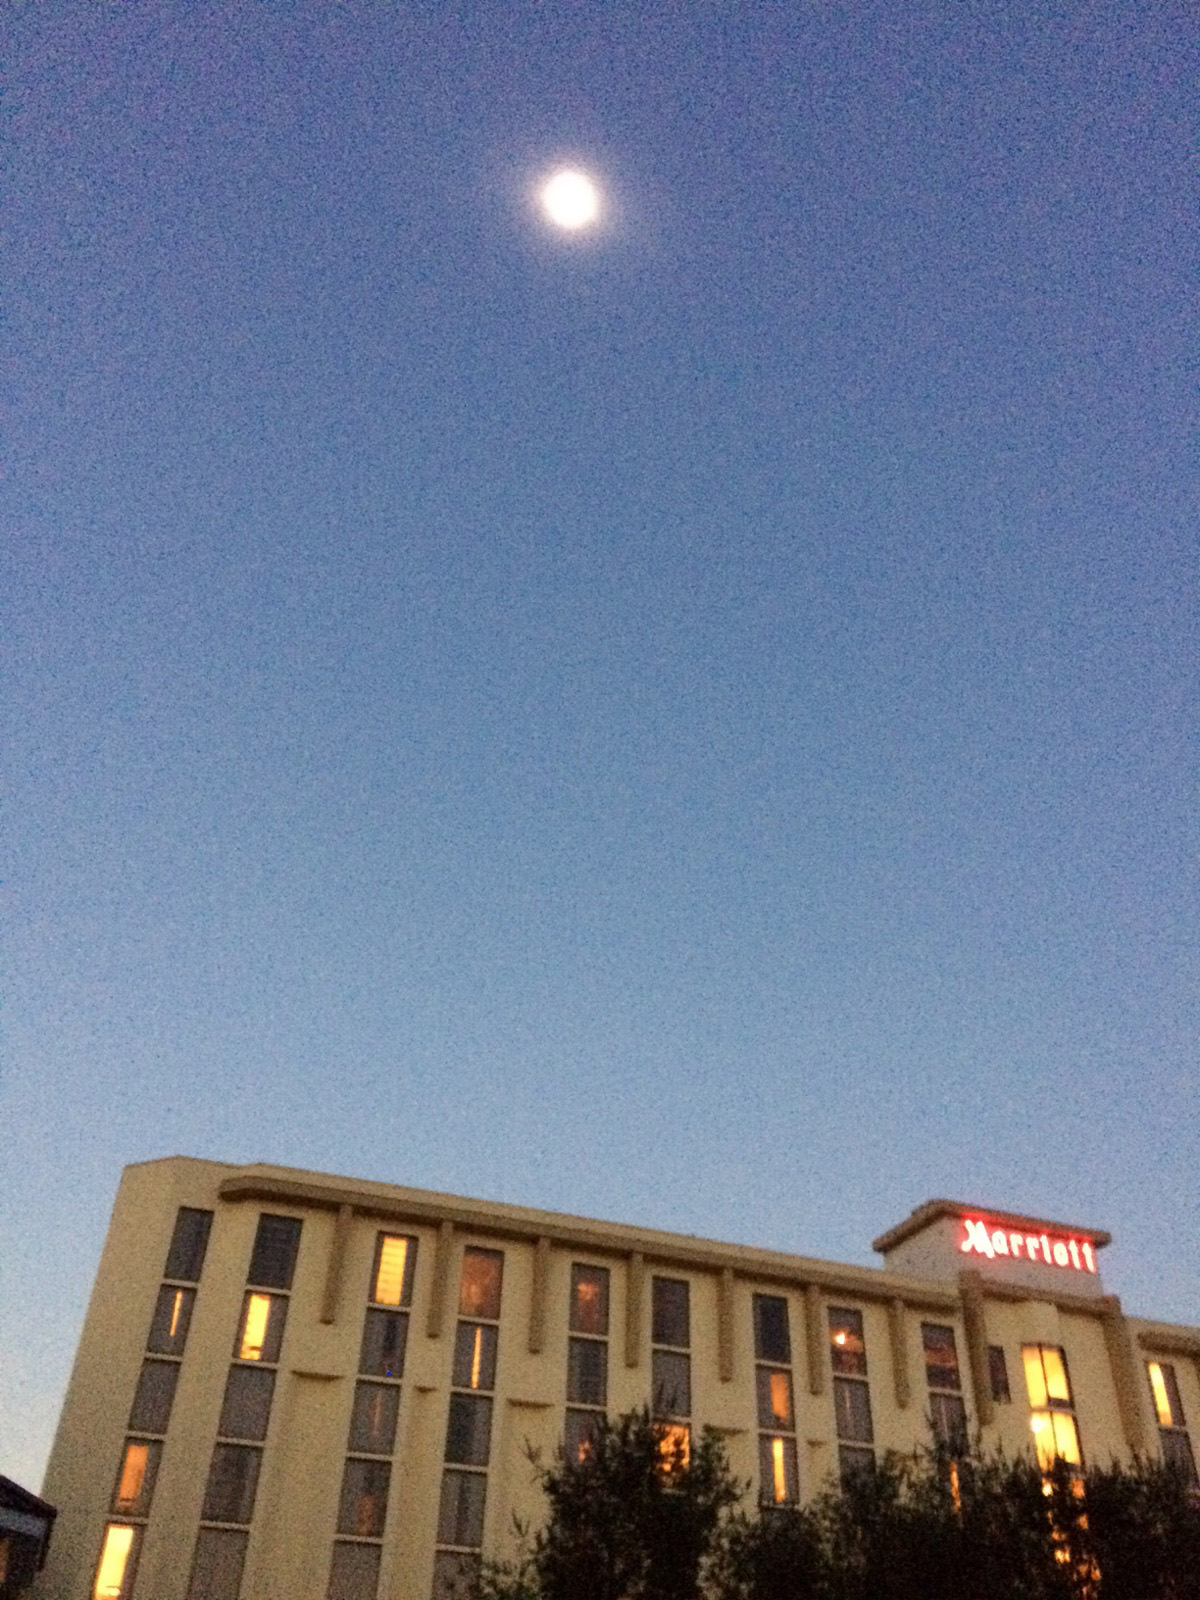
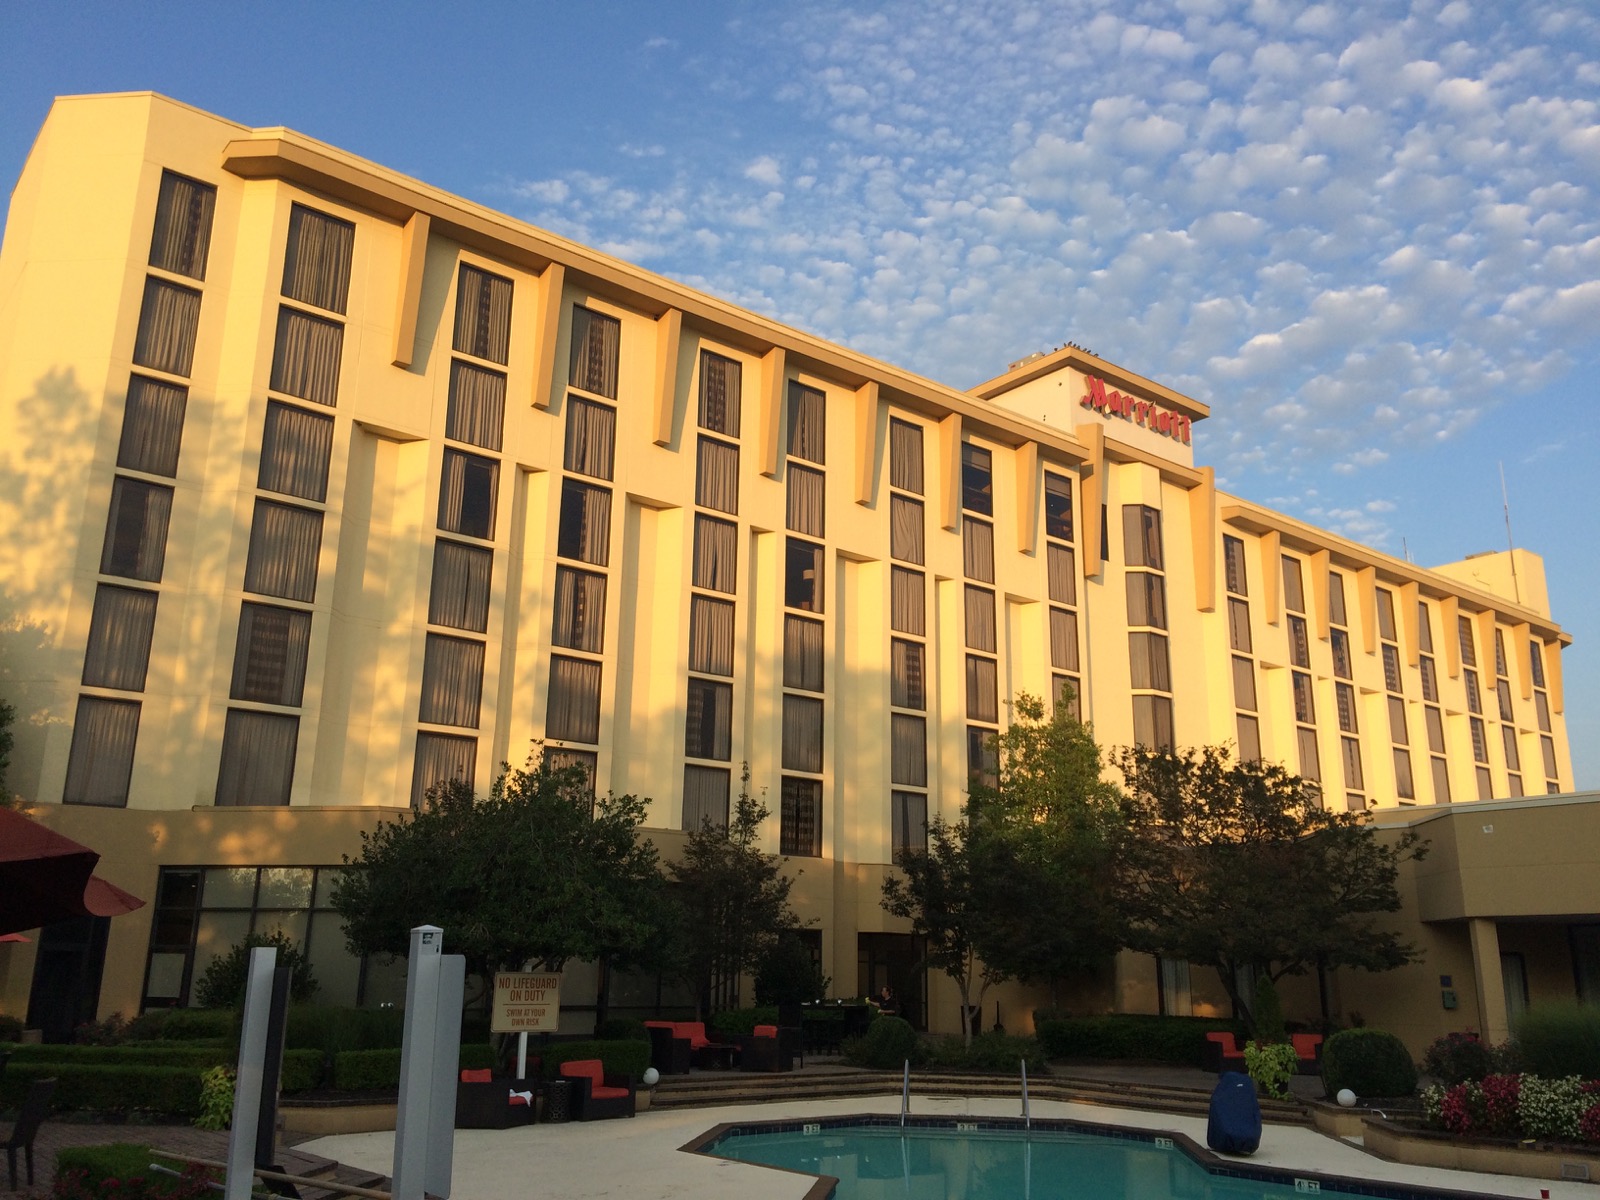
The pic you see was taken by me on August 21st, 2017 in the parking lot of the Greenville Marriott in South Carolina. This article will show you more pics and explain what I went through to get them because that photo did not happen by chance. I spent weeks preparing. Here’s how.
The Goal
The goal was simple: Take great pics while not having to actually take any pictures.
Before this event I had seen many lunar eclipses, multiple partial solar eclipses, and one annular eclipse. I had done a lot of research and knew that totality could render the most well-prepared photographer boggled for the scant few minutes that totality lasted, so I set out to automate the entire process.
I am so glad that I did.
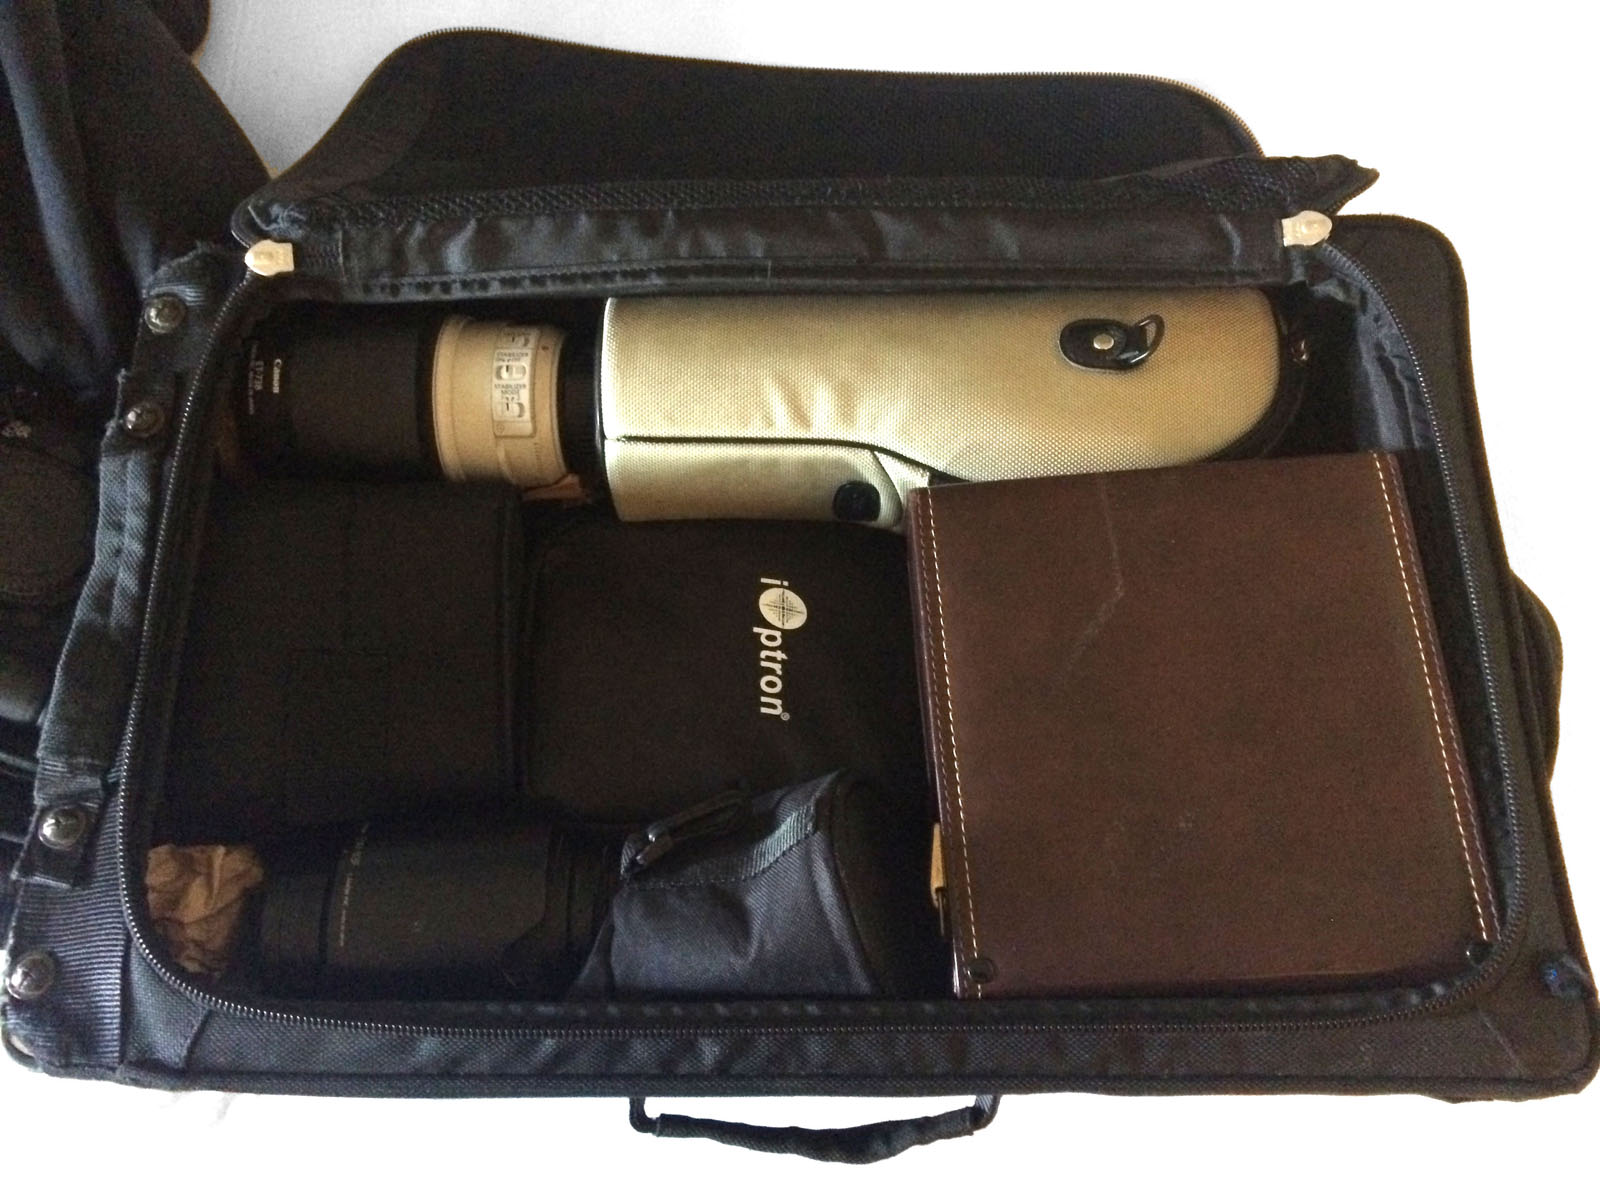
Another goal was that everything had to fit in my StrongBags Vortex 2 suitcase [link] because we were flying from New Jersey down to South Carolina to view the event. It had to be portable, it had to be completely automated, and it had to work.
Solar Eclipse Terminology
Before we get started, there are four major milestones during a solar eclipse that I will reference in this article. They are called First Contact, Second Contact, Third Contact, and Fourth Contact. These references are commonly abbreviated as C1, C2, C3, and C4, and here’s what they mean:
C1 is the point where the moon first “touches” the sun.
C2 is the beginning of totality
C3 is the end of totality
C4 is the moment that the moon no longer covers the sun
These reference points can be calculated mathematically based on your position on Earth but math is hard and I didn’t want to do that math. Don’t worry, I’ll show you how you don’t have to, either.
The Rig
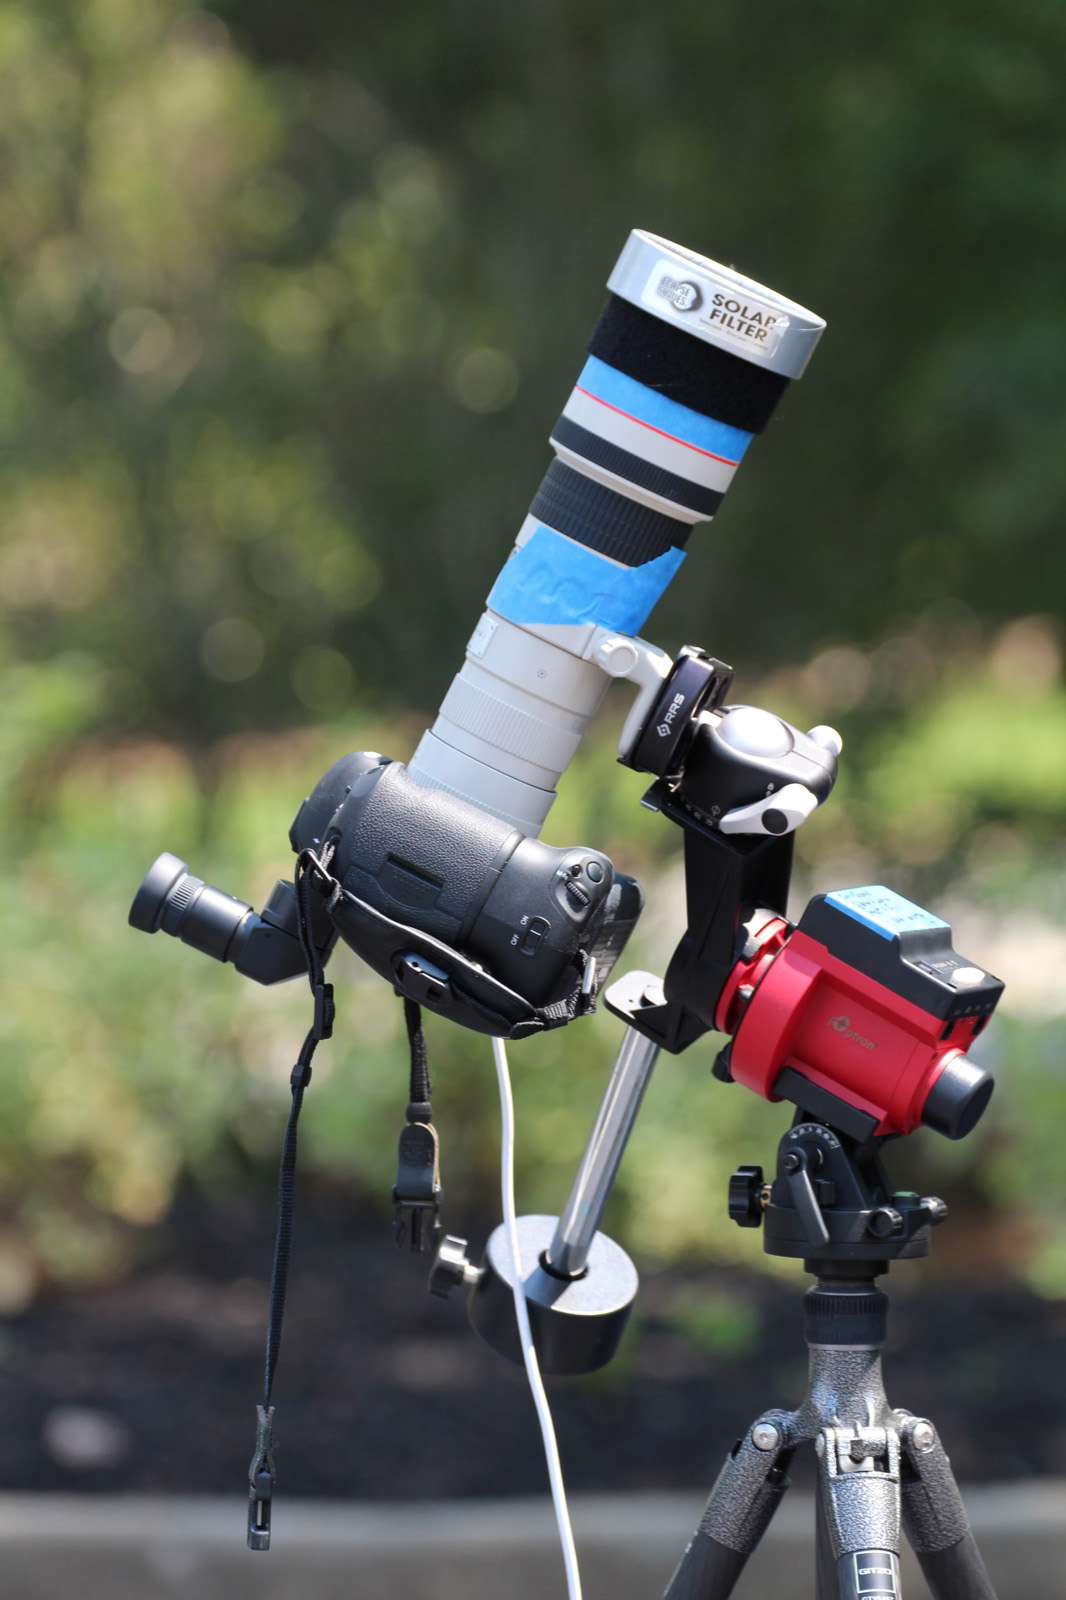
Lens: Canon 400mm f/5.6L w/ 1.4x TC (560mm f/8 total) [link][link]
As much as I would have loved to use a 500 or even a 600mm lens, the only options from Canon in that range start at $8000. They also come in their own suitcase so they didn’t work for me. I opted for a 400mm f/5.6 prime (not a zoom) lens and added a 1.4x teleconverter (TC) that made the lens into 560mm f/8. Perfect.
Camera: Canon 5D Mark III
This is my main camera and I already had it so no choice was made. Note that I will always shoot full-frame given the choice as I don’t like crop cameras. I also have the luxury of being able to afford a full-frame camera, and should point out that a crop camera would absolutely work in this rig. In fact, as you’ll see, my daughter took some killer pics of the eclipse hand-held with a Canon Rebel.
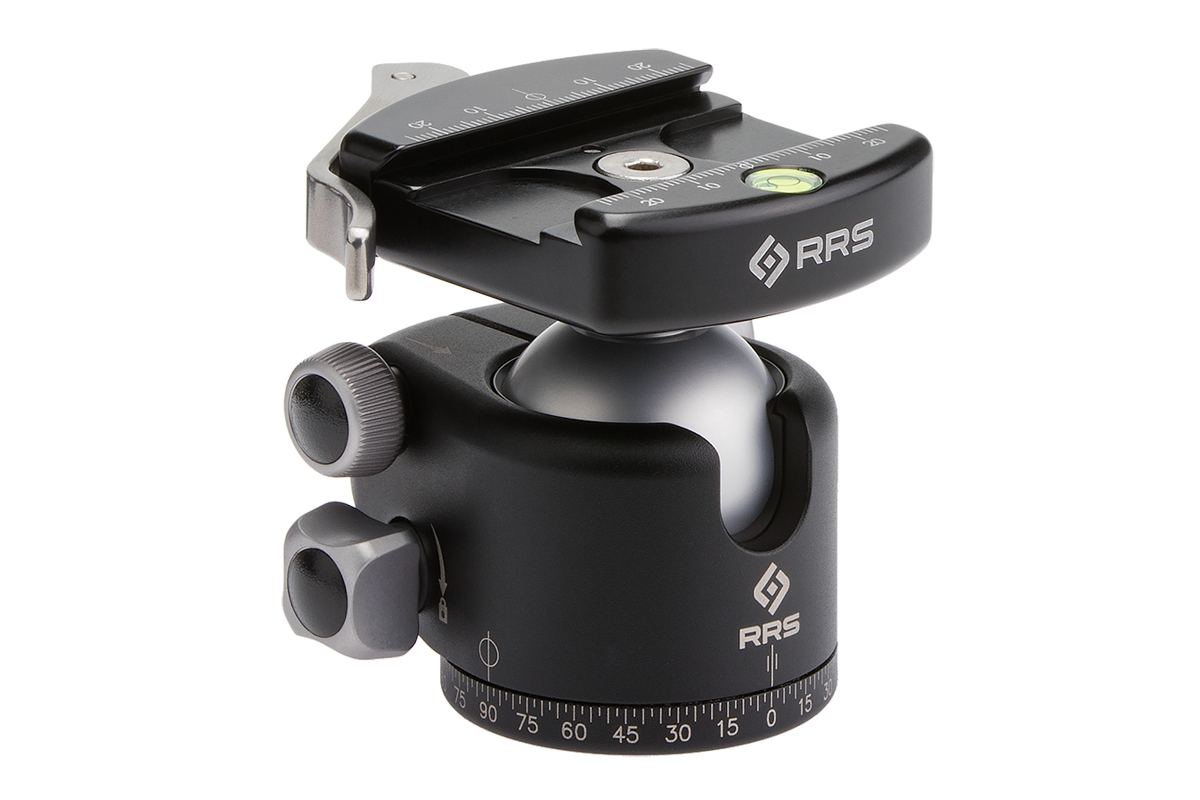
Ball Head: Really Right Stuff BH-40 w/ Lever-Release Clamp [link]
Mount: iOptron SkyTracker Pro [link]
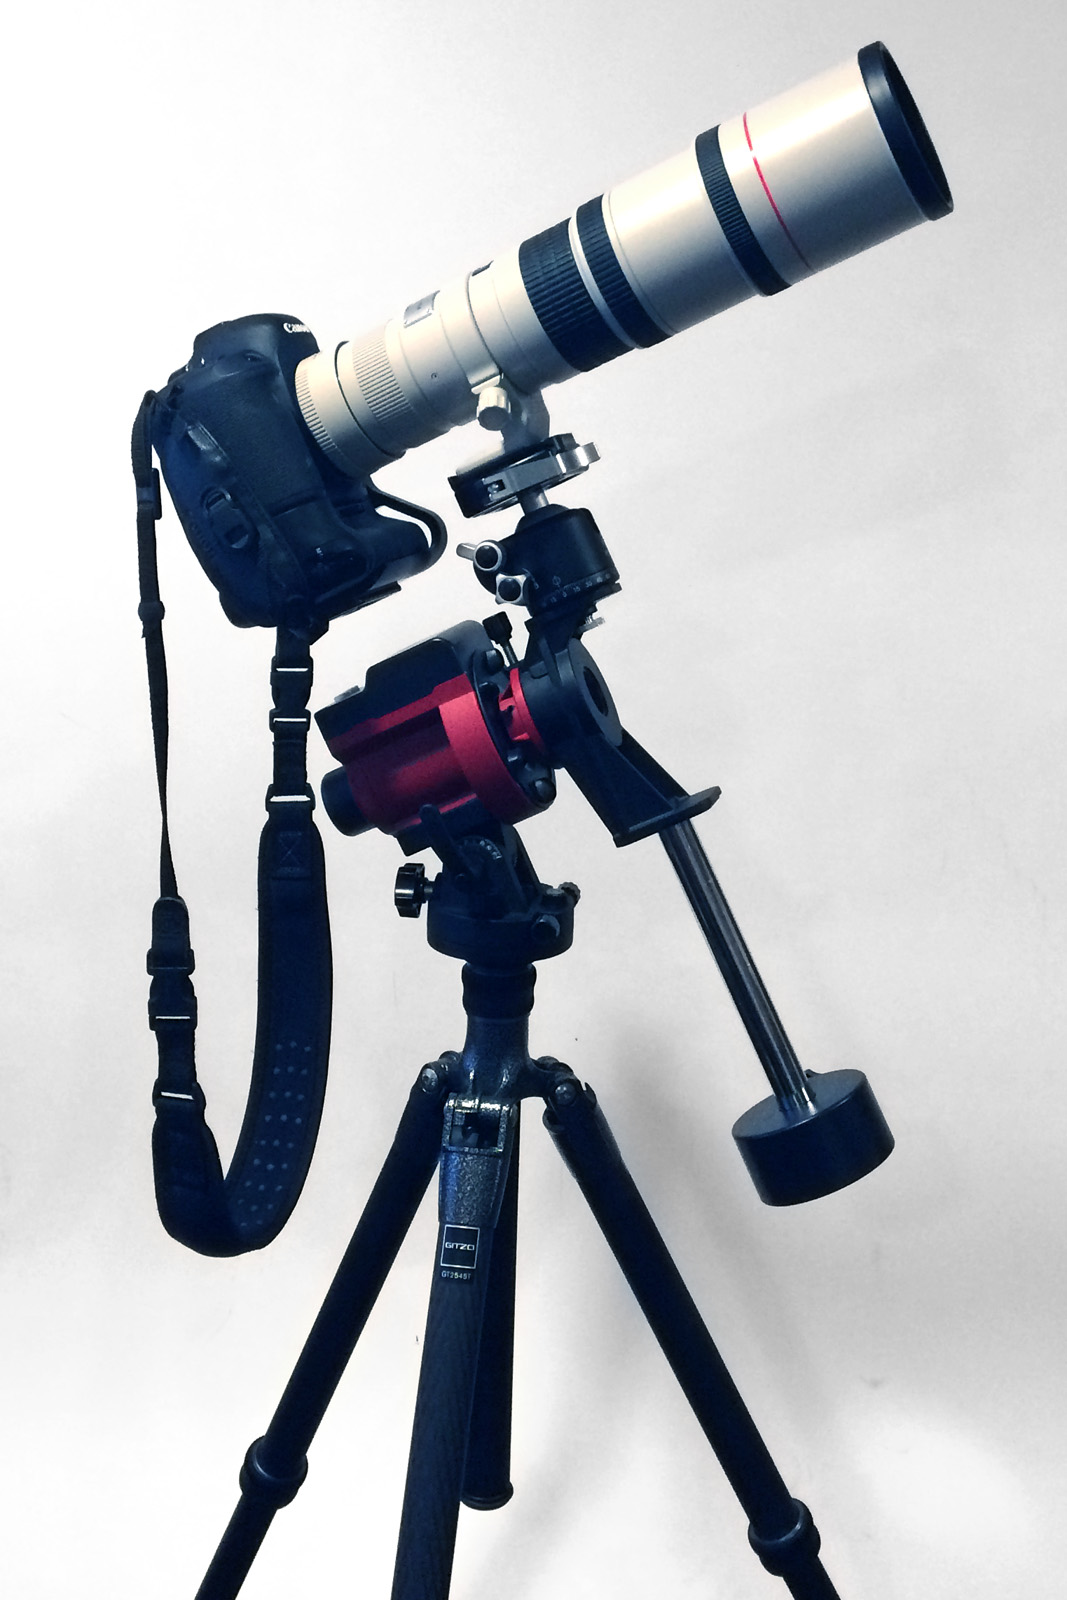
Note that the counter-weight got me pulled aside by the TSA for each leg of my trip because they’re not used to seeing such dense material in luggage and it gets flagged because they can’t see through it with their x-ray machines. Plan ahead and pack it within easy reach. Better yet, use another camera as a counter-weight! And yes, I seriously considered that.
Tripod: Gizto Traveler GT2545T Series 2 [link]
There is nothing like a Gitzo tripod. I chose it because it fits in my bag and is crazy light thanks to its carbon fiber tubes and magnesium parts. There are cheaper options that would accomplish the same goal and if I wasn’t traveling I would have used my ancient aluminum 7-pounder.
Above all, whatever you use for a tripod must be sturdy. I saw guys with huge Nikon rigs sporting 200-500mm lenses mounted on tiny tripods. When it comes to Corona pictures, I was shooting some 2-second exposures with mirror-lockup to reduce vibration. You need a sturdy tripod for that.
Filter: Thousand Oaks Optical Solarlight [link]
Whatever you get, buy filters FAR in advance of an event like this! I ordered mine three months in advance and it took two two months to get them!
You don’t need to spend big money on filters, especially if you order in advance. You can buy they filter material in fairly large sheets for not much money and you can easily make your own filters. If you don’t feel comfortable doing this then I recommend you buy them pre-made as a 400 or 500mm lens will turn the sun into an eye-killing laser without a good filter.
Additional Gear
Here’s non-essential stuff that I carried along, all of which made the event better.
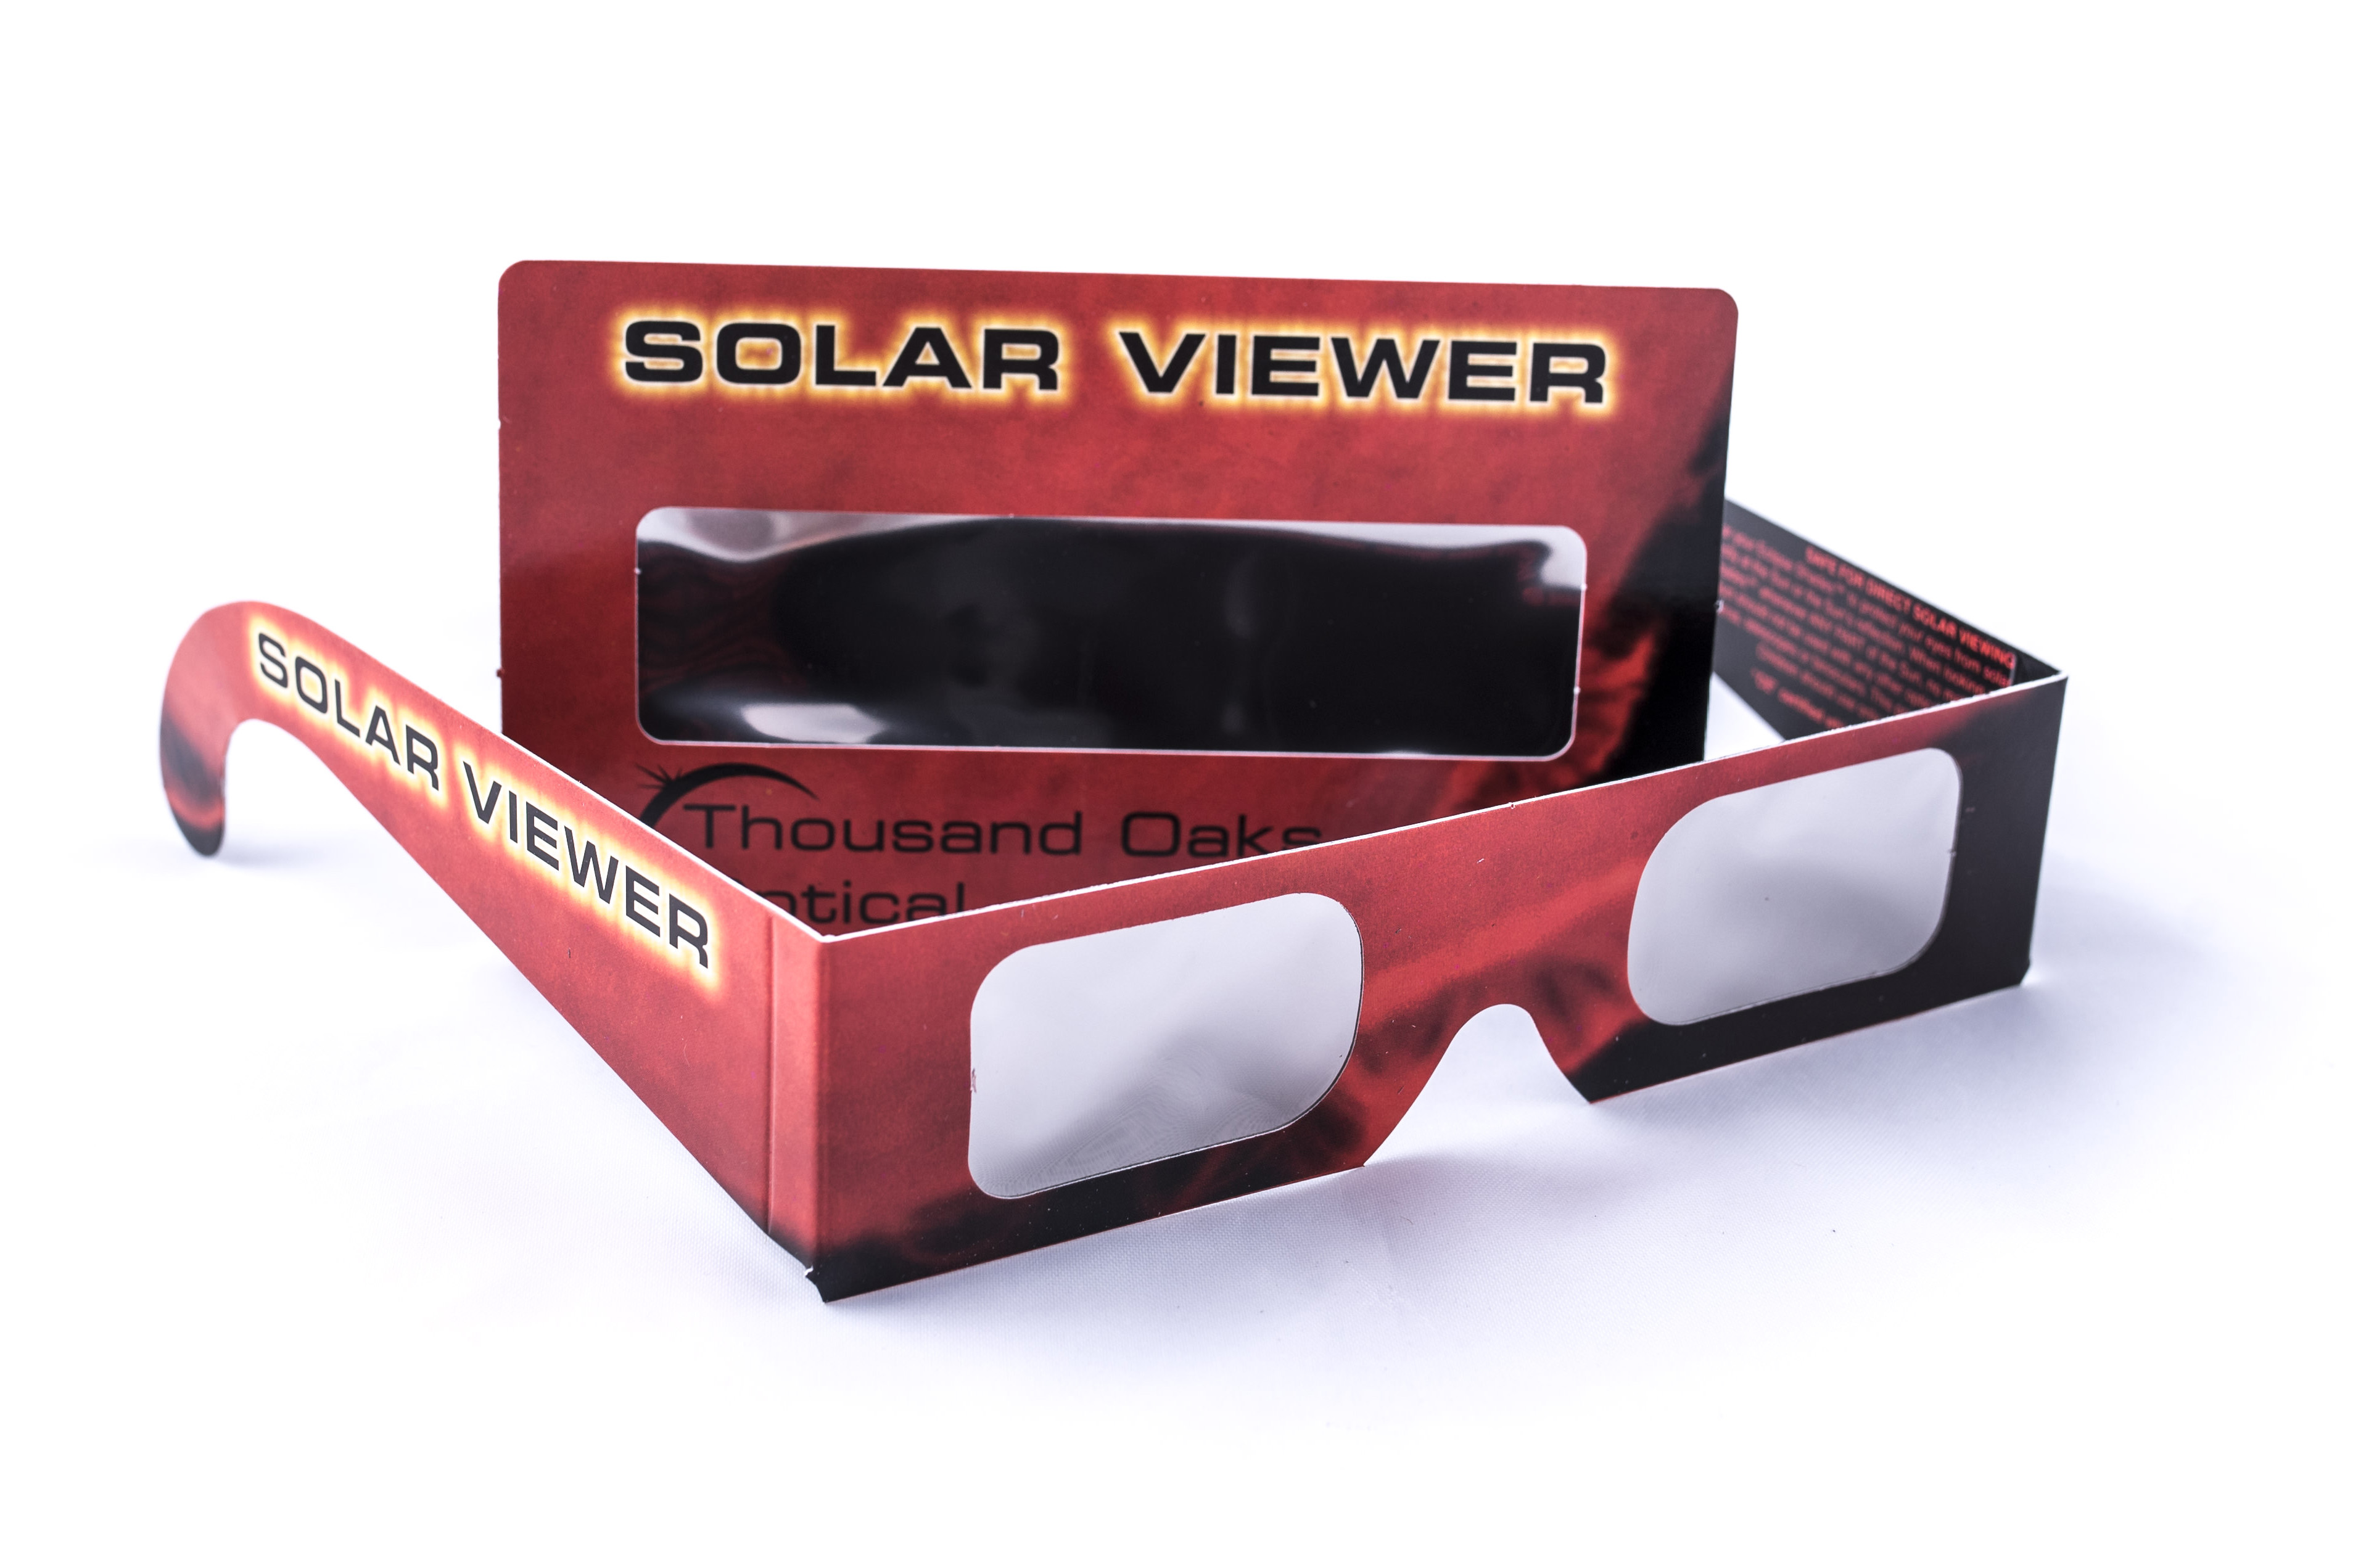
Eclipse glasses – at *least* one for each person. I had extra and gave a couple away to people in need. Be the hero and bring more. They’re cheap when ordered in advance, but make sure you get them from a trusted source like Thousand Oaks Optical or Rainbow. I also like the hand-held viewers. For the family I sprung for nicer plastic-framed eclipse glasses from Rainbow.
Blue Painter’s tape is your friend! I used it to tape down my focus ring so it wouldn’t budge (turn off auto-focus!). I also taped my lens so that I could put sticky velcro on it, then after the event I just peeled of the velcro and the blue tape which left no sticky goo on my nice lens.
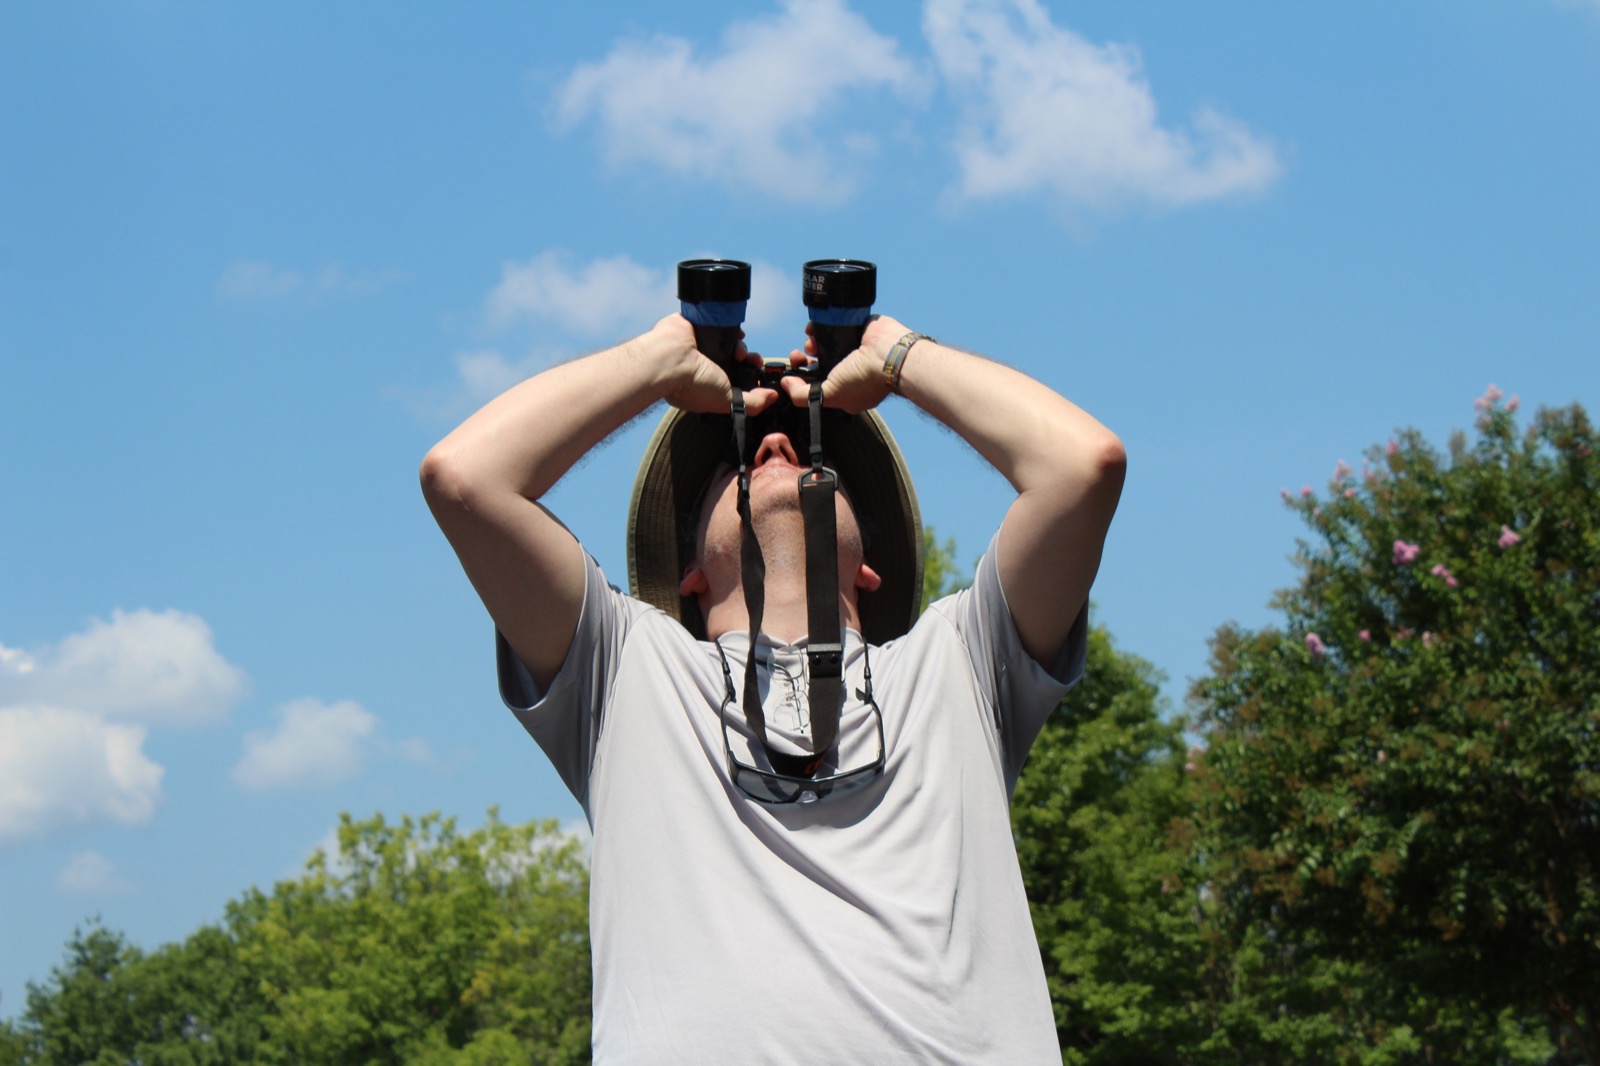
Filters for the binoculars! Do not put them in front of your glasses! You will turn the pre and post-totality sun into a laser that will cut through your glasses like this guy on reddit: [link]
You don’t need a $1000 pro-level camera for this stuff, either. You just need something that’s handy that can take reasonably good pics which is why I say even a smartphone would be fine. I wouldn’t make it my main camera if you’re shooting for photos like the ones I took with my big rig, but for everything else they’re great.
The Software
This software is free and is funded by donations. I can tell you that I happily paid a nice donation for this software after the eclipse because it’s just that good. It does, however, have a bit of a learning curve and if you don’t have any experience scripting it might be a really steep learning curve. If you’re not technical at all, it may not be the solution you’re looking for because it can be a bit complicated.
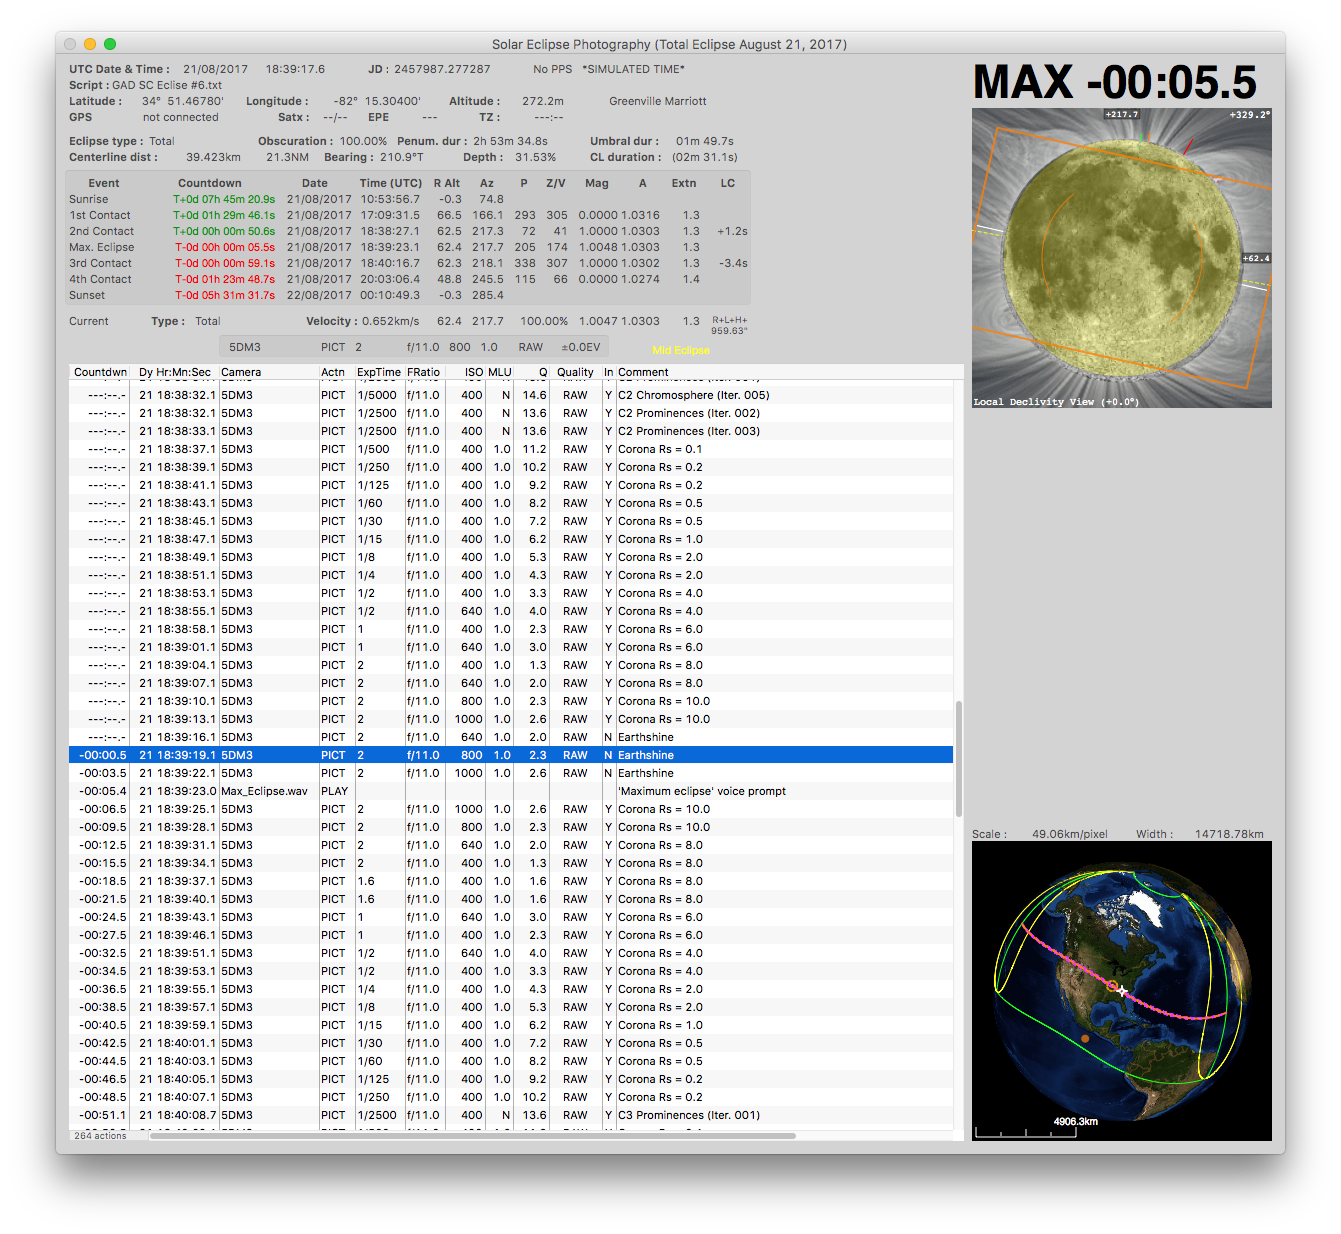
Every single eclipse image you see on these pages was triggered with Solar Eclipse Maestro. I spent weeks perfecting my script, and my final version was the sixth major iteration. I did all the exposure math ahead of time using my own experience with previous partial eclipses for the partial phases and online information from various sources for the totality photos.
Solar Eclipse Maestro will count down to eclipse events based on your geographical location (which I entered from the compass app on my iPhone) which is important because they’re different based on location. Again, that math is hard, and this software does it all for you.
One of the great features of this program is that it can talk. It comes with a bunch of prerecorded sound-bites like “Filters on!”, “Filters off!”, and my favorite, “Max eclipse.” You can also program it with Mac commands so I had the system tell me things like “Check Alignment” and even at the end, “It’s over. Go home.”
The software is incredibly accurate and as I was the only one with such a system at my location during the eclipse, I yelled out to other photographers “Filters off!” when my system told me to do the same.
The Script
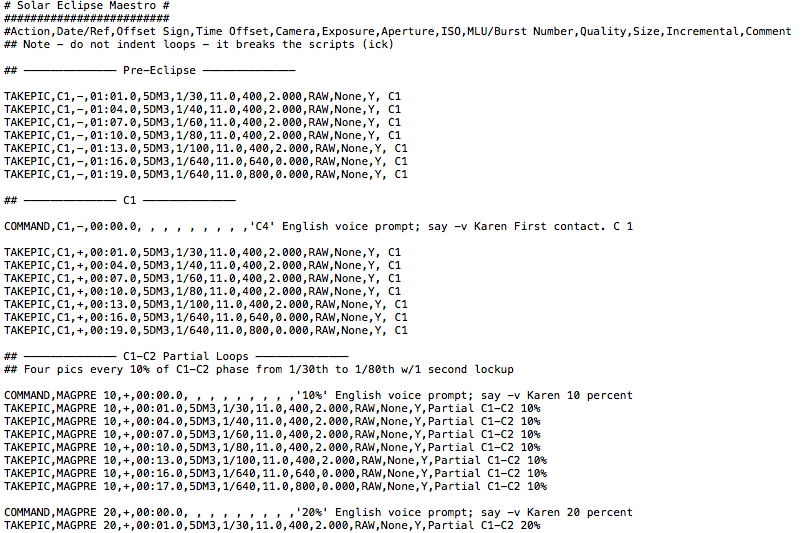
The only thing the script doesn’t do is track the sun, so if you’re going to try and automate you’re going to need a tracker and you’re going to need to understand how it works.
The Night Before
You know what kills an eclipse photography expedition? Dead batteries. Charge the batteries the night before and have extras just in case! Laptops, cameras, and the tracker all have batteries. Secondary cameras and cell phones have batteries.
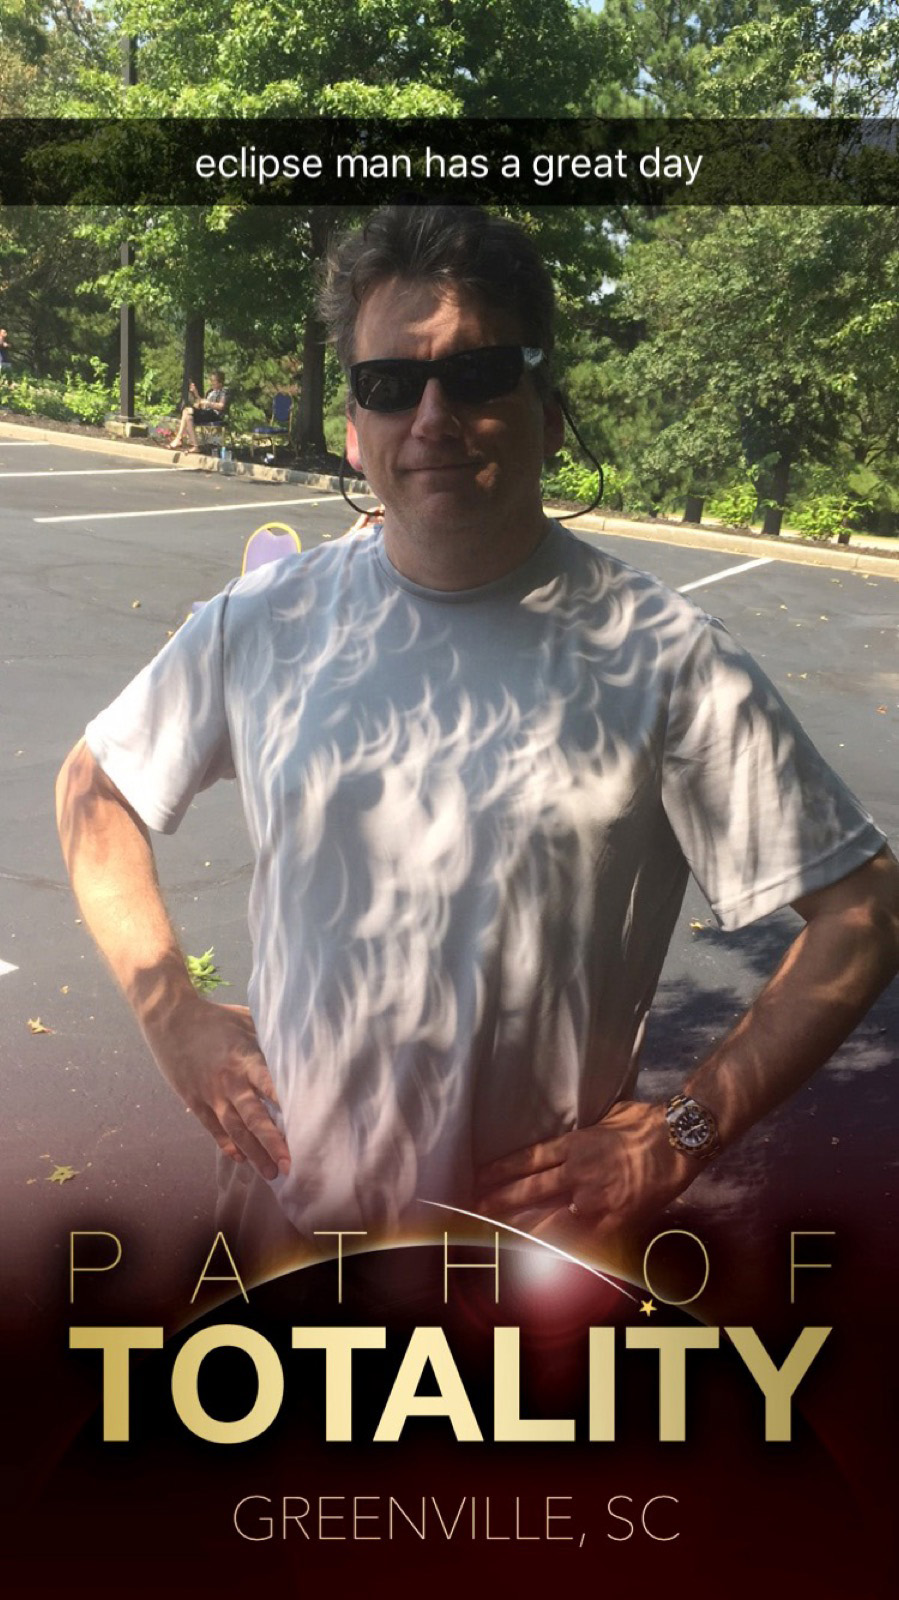
I also decided that standing in the 90+ degree heat on the black parking lot for four hours was probably not a good idea in the black t-shirt I’d brought, so we went out and bought myself a white shit and an 8-pack of Gatorade.
Aside from those things, I resisted the urge to tweak the script some more because I couldn’t test the changes I’d make so late in the game.
The Big Day
I set up my rig in the shade, knowing that my spot would not be in the shade come first contact (C1). In order to align the tracker it must be facing due North (true North, not magnetic North!), it must have the elevation set to the proper longitude, and the rig must be level. And yes, all of that is a huge pain in the ass because if any of it is wrong, the tracker won’t track properly.
I quadruple-checked everything and finally the laptop reported, “Ten Minutes!” It was go time. There was no time left for changes and it was now in the hands of the software. All I could do was watch and make sure alignment held. It did not.
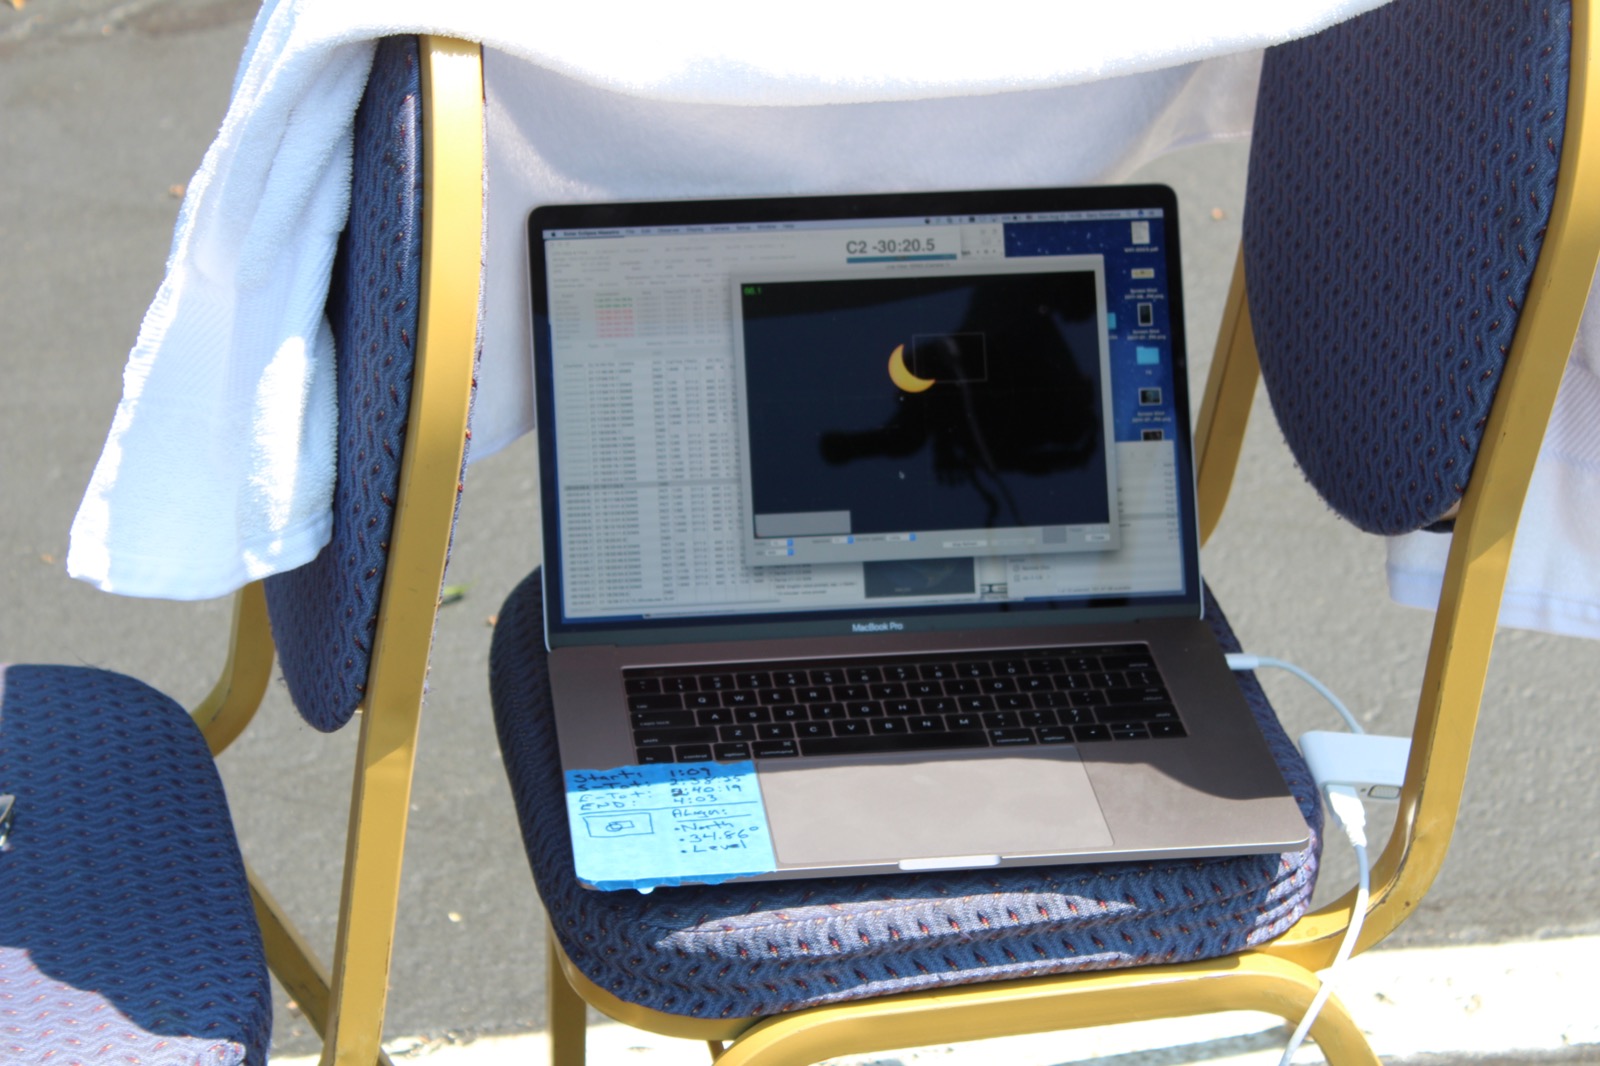
One of the other things I discovered was that the laptop was baking in the sun. Since most of the viewers were hanging out by the pool and didn’t have a rediculous rig of science to attend to, there were extra chairs so I rigged up a way to cover the laptop with a towel shade and Kudos to my wife for thinking of it! This also provided shade which made the screen easier to read.
I was also thankful that Canon L-series lenses are white because let me tell you that black camera was hot in the sun. The white lens was cool to the touch.
Oh, and that goofy meme-like Totality pic of me with eclipse images from the the tree shadows all over my shirt is courtesy of my daughters. Now you know why I rarely let them take my picture.
The Results
I could not be more pleased with the results. They are everything I could have wanted and more and I am quite proud of them all. Let’s look at the major scores.
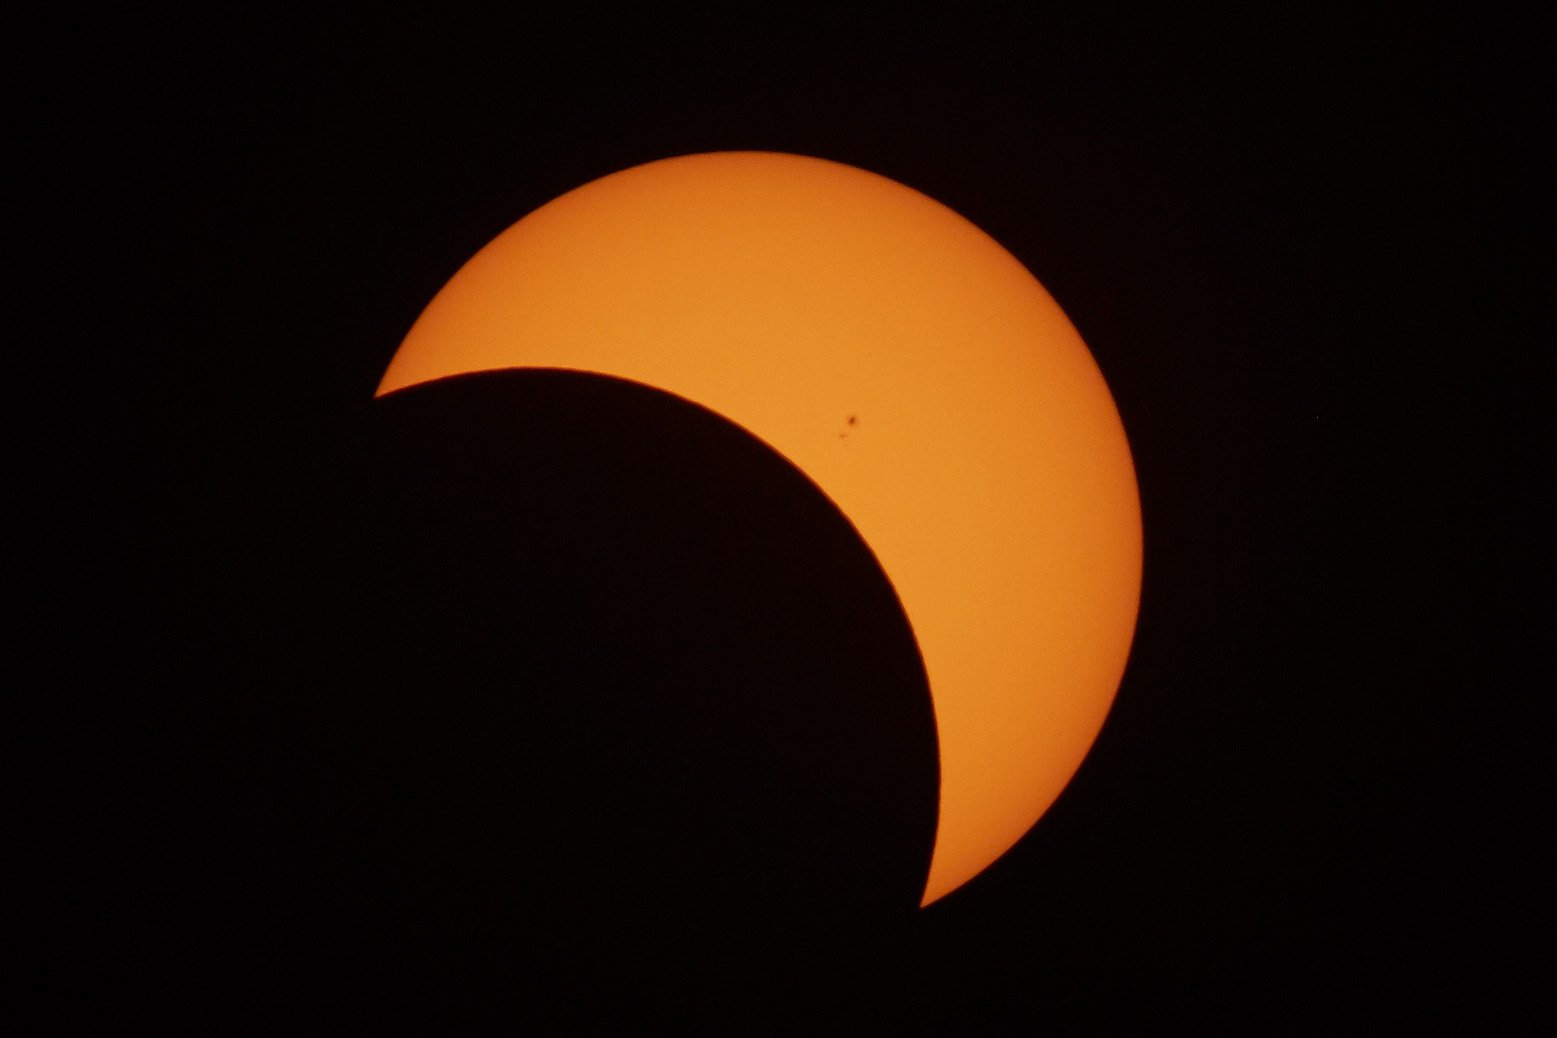
Partials
When C2 approaches the software counted down by the minute and then announced “Filters off!”. All of the totality pictures are without solar filters. Remember, they were all taken within the 2-minute span of totality while I stared at the sky dumbstruck going, “Whoa…”
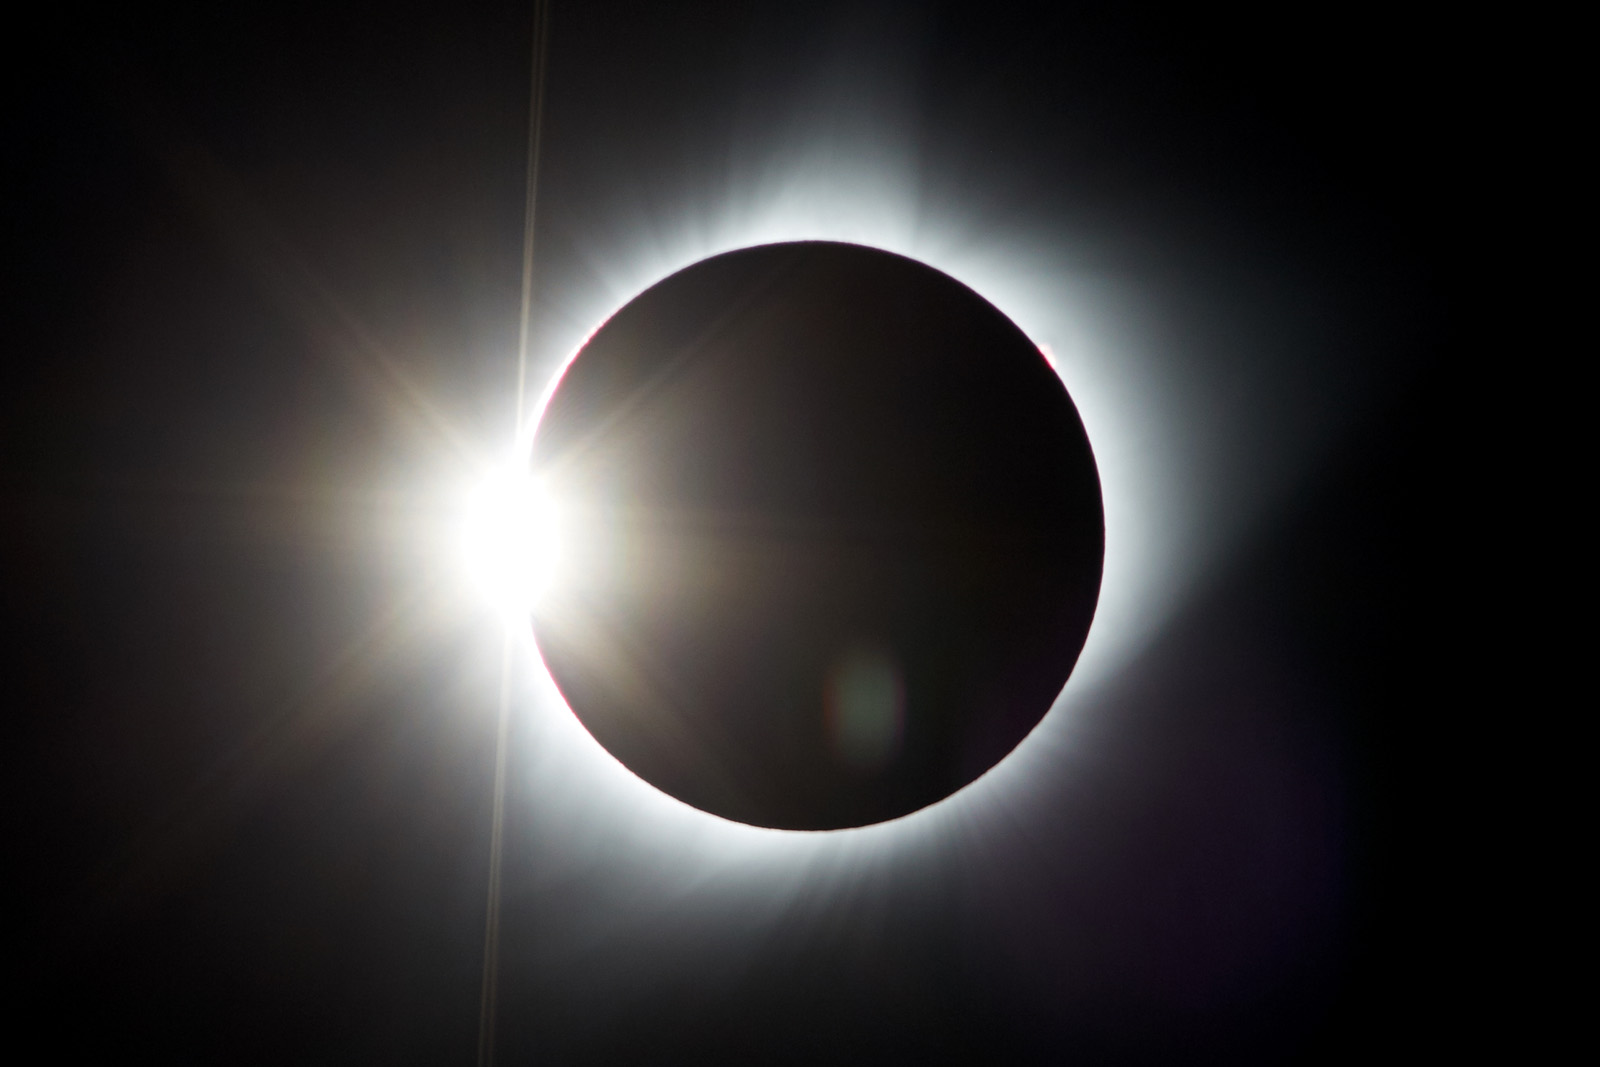
Diamond Ring
Baily’s Beads
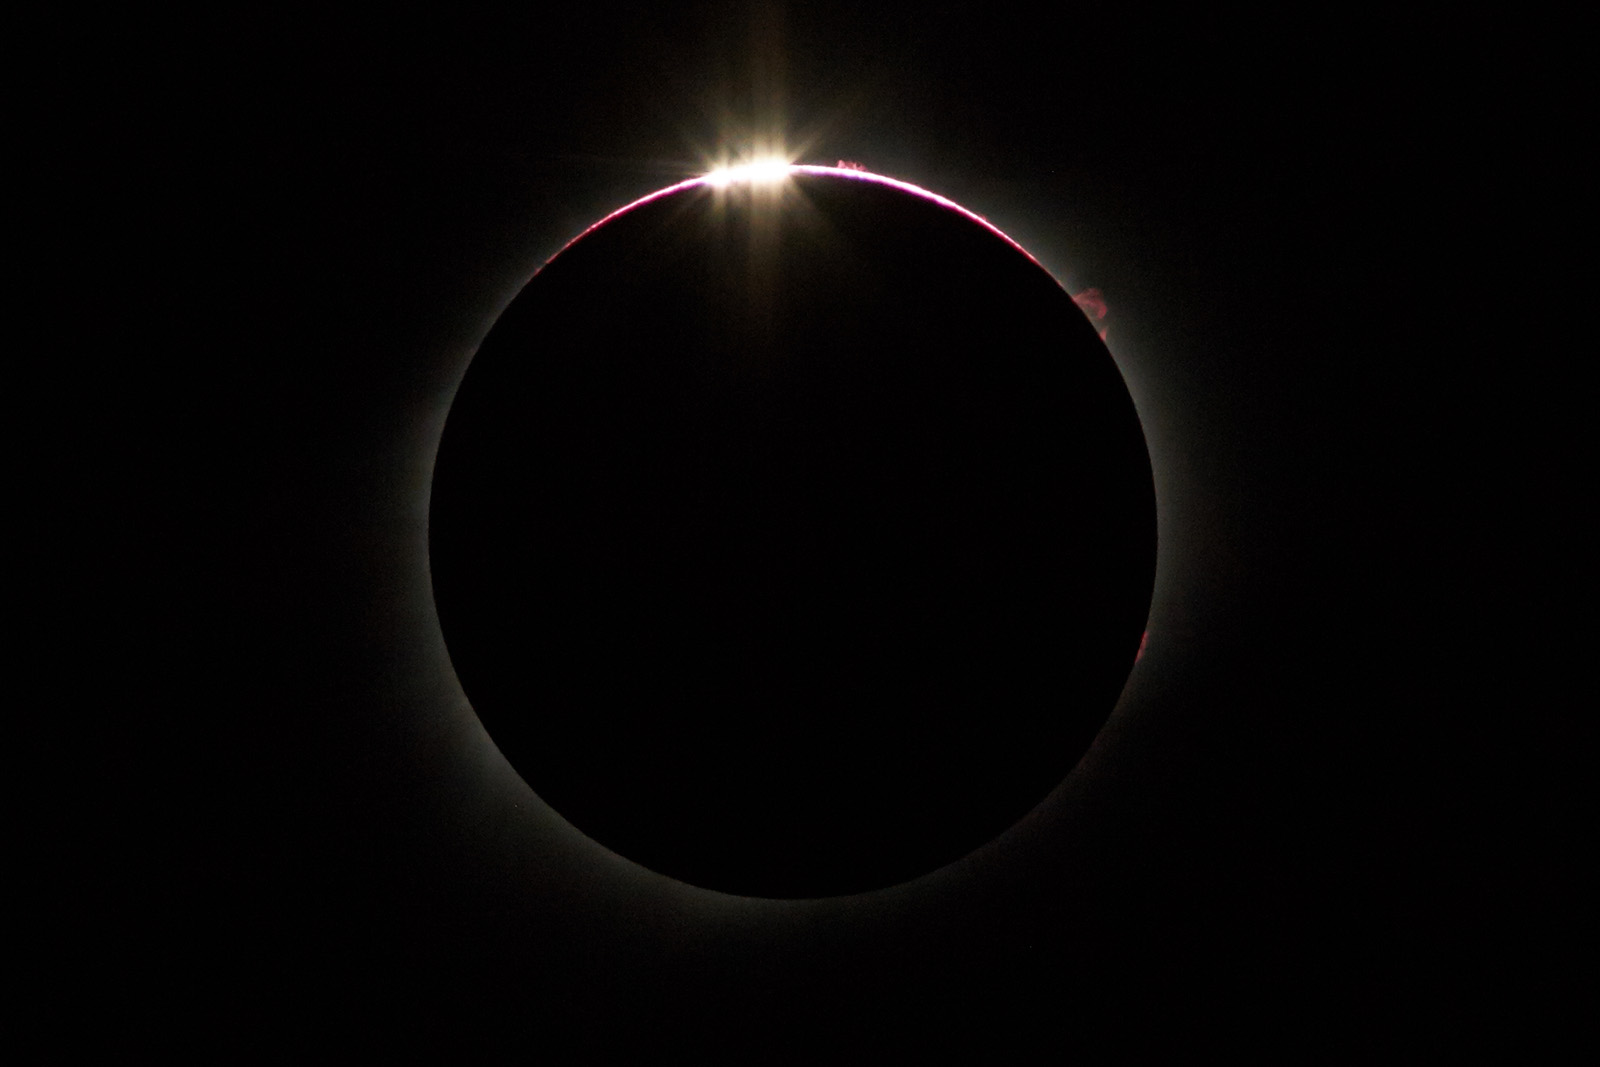
This also happens at the beginning and end of totality and the position changes accoerdingly as well. These pics were taken at ISO 400, 1/2500th, f/11.
Solar Prominences
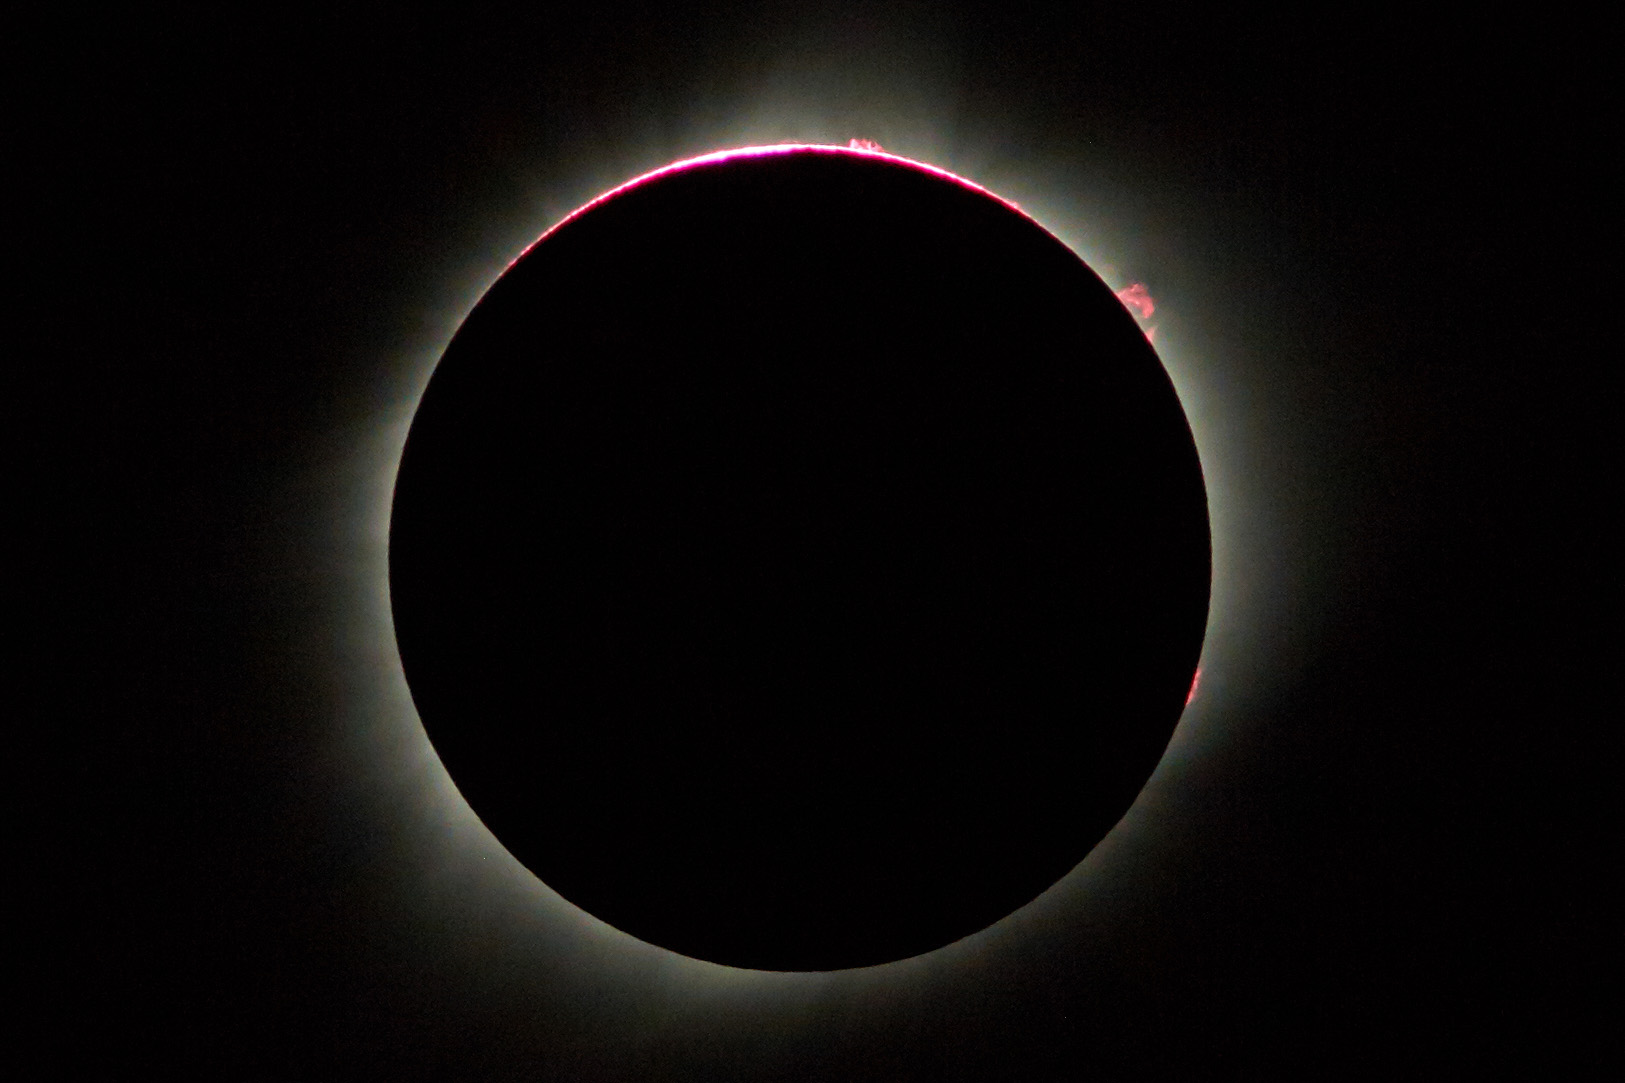
This pic requires a camera capable of fast shutter speeds and was recorded at ISO 400, 1/8000th, f/11. Certainly the shutter spead could be lowered for the same exposure with different ISOs, but given these results I’m pretty happy with what I got here.
Coronasphere
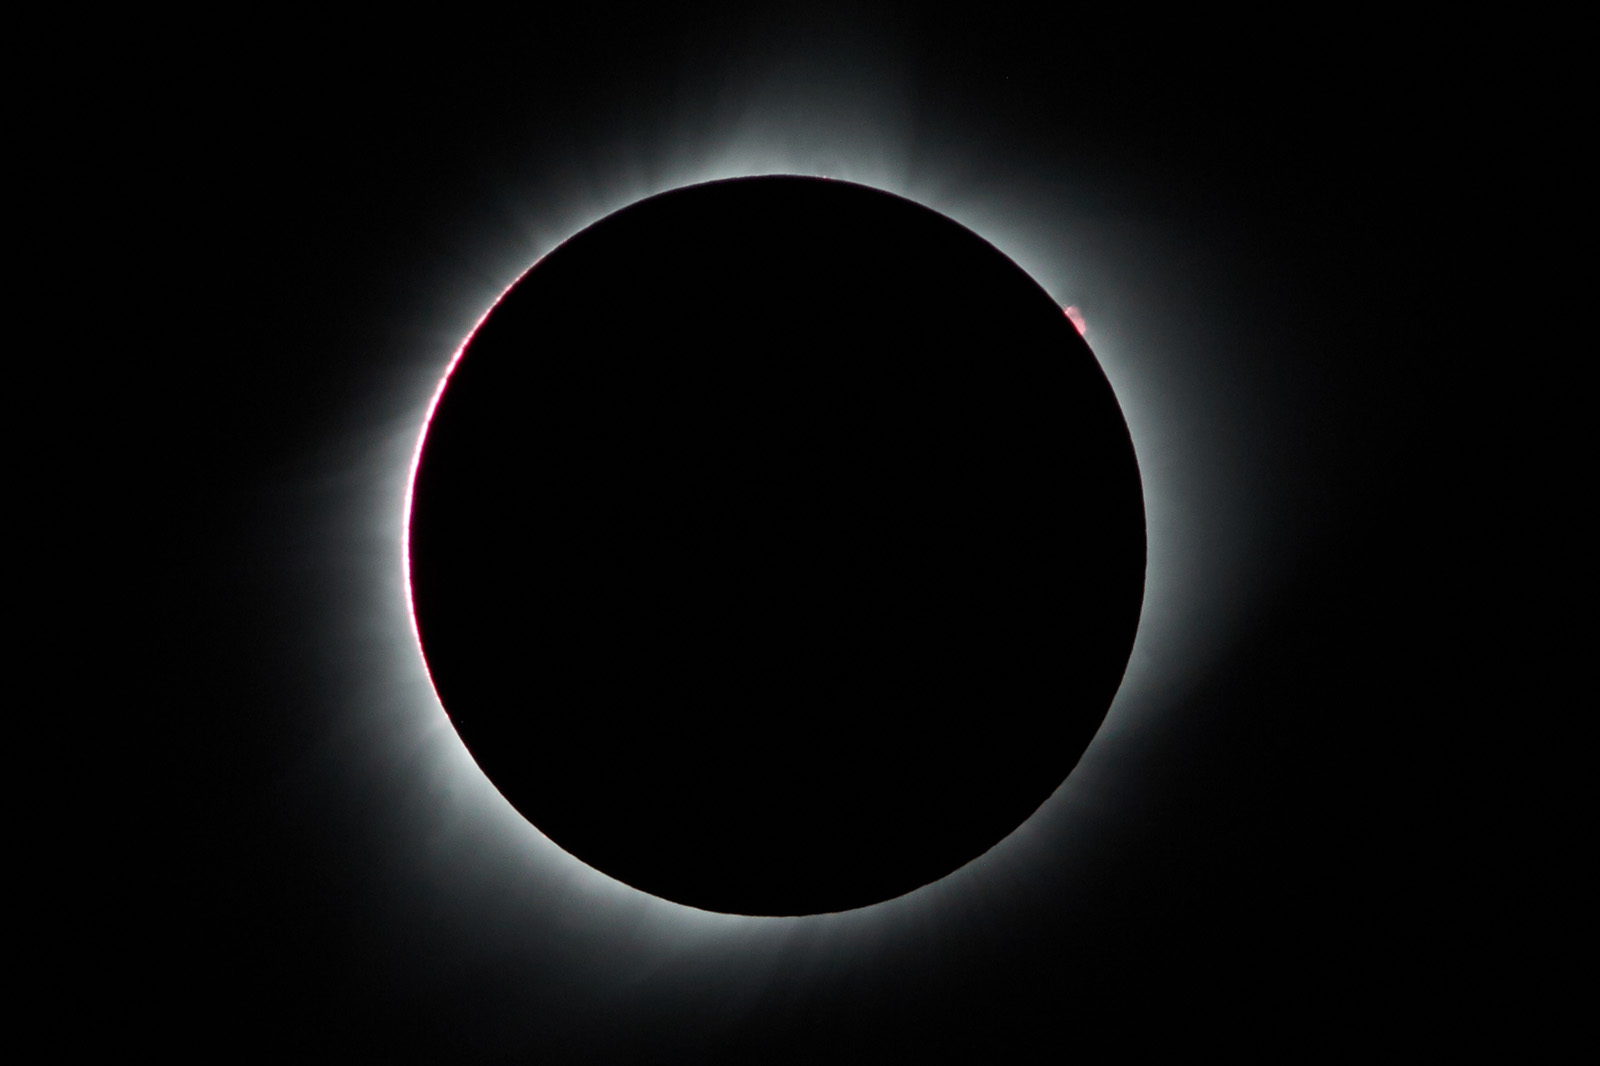
This pic was taken at ISO 400, 1/500th, f/11. This is very close to the prominence photos but shows more corona where as the prominence set tries to highlight just the solar flares.
Corona
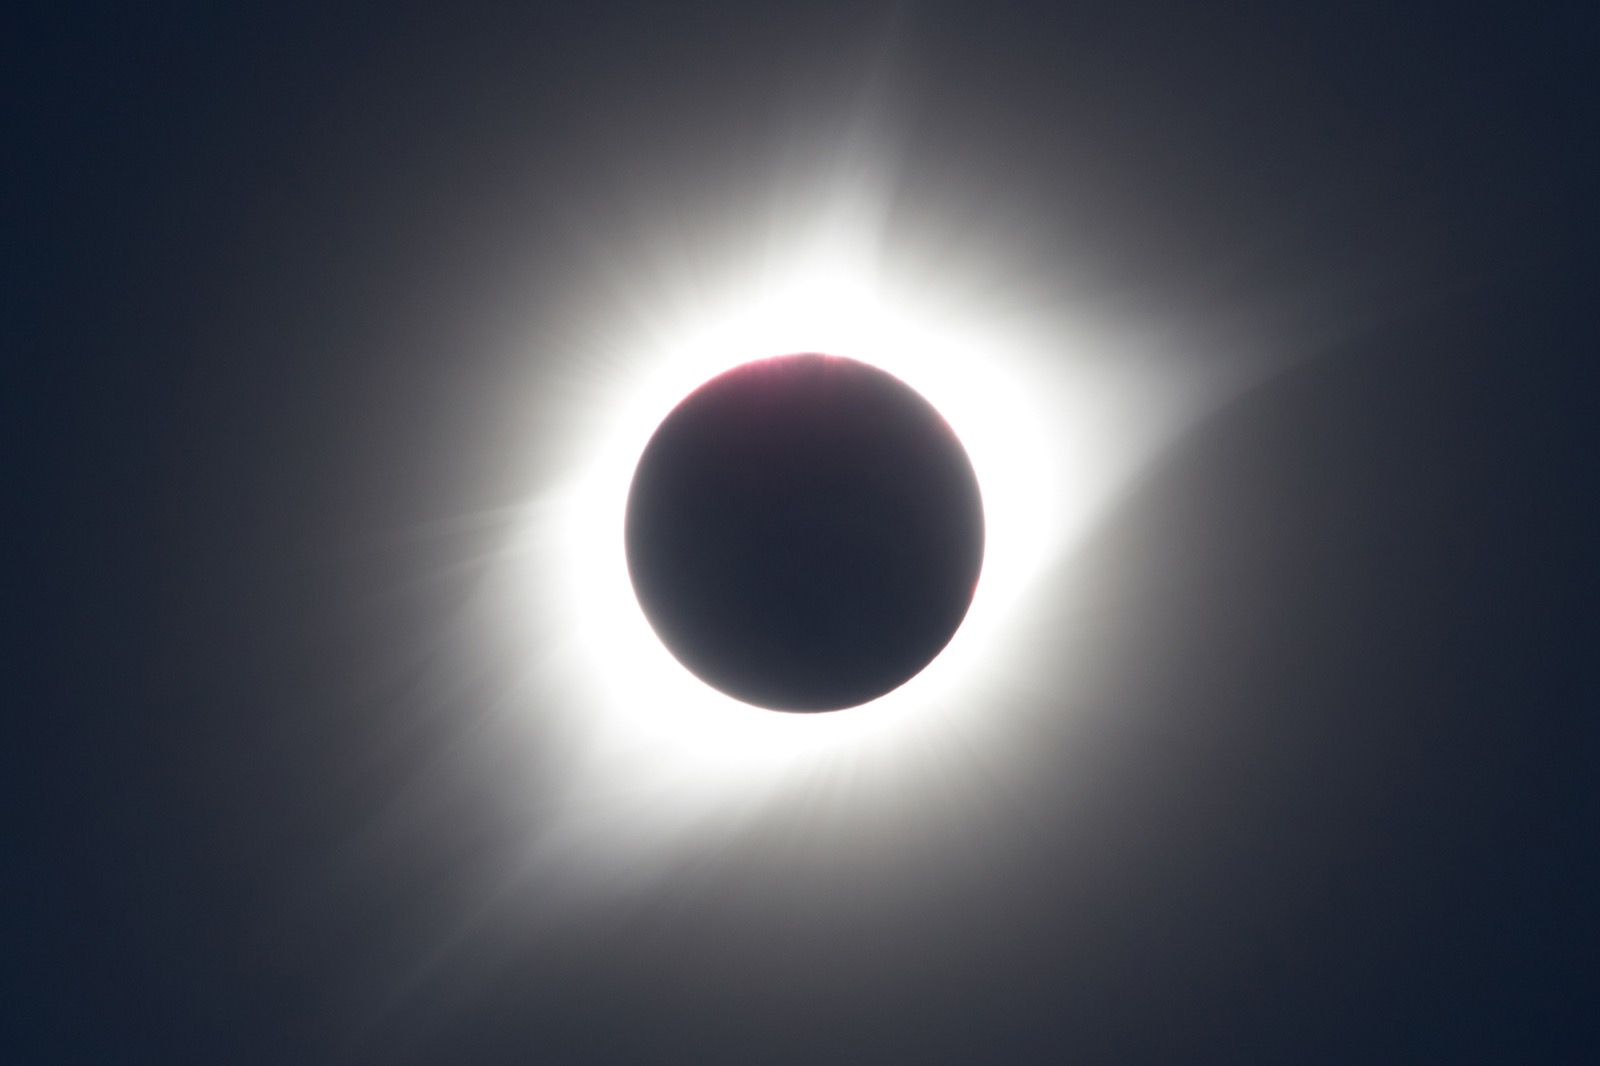
I can also tell you that none of them even come close to what we saw with our naked eyes and I’m not yet sure why. In fact, none of the photos I’ve seen from anyone capture the magic we saw in the sky. I believe that’s part of what turns people like me into eclipse chasers because I want another chance to see, feel, and hopefully capture what I saw, because as amazing as some of these photos are, they just don’t do it justice.
HDR Corona
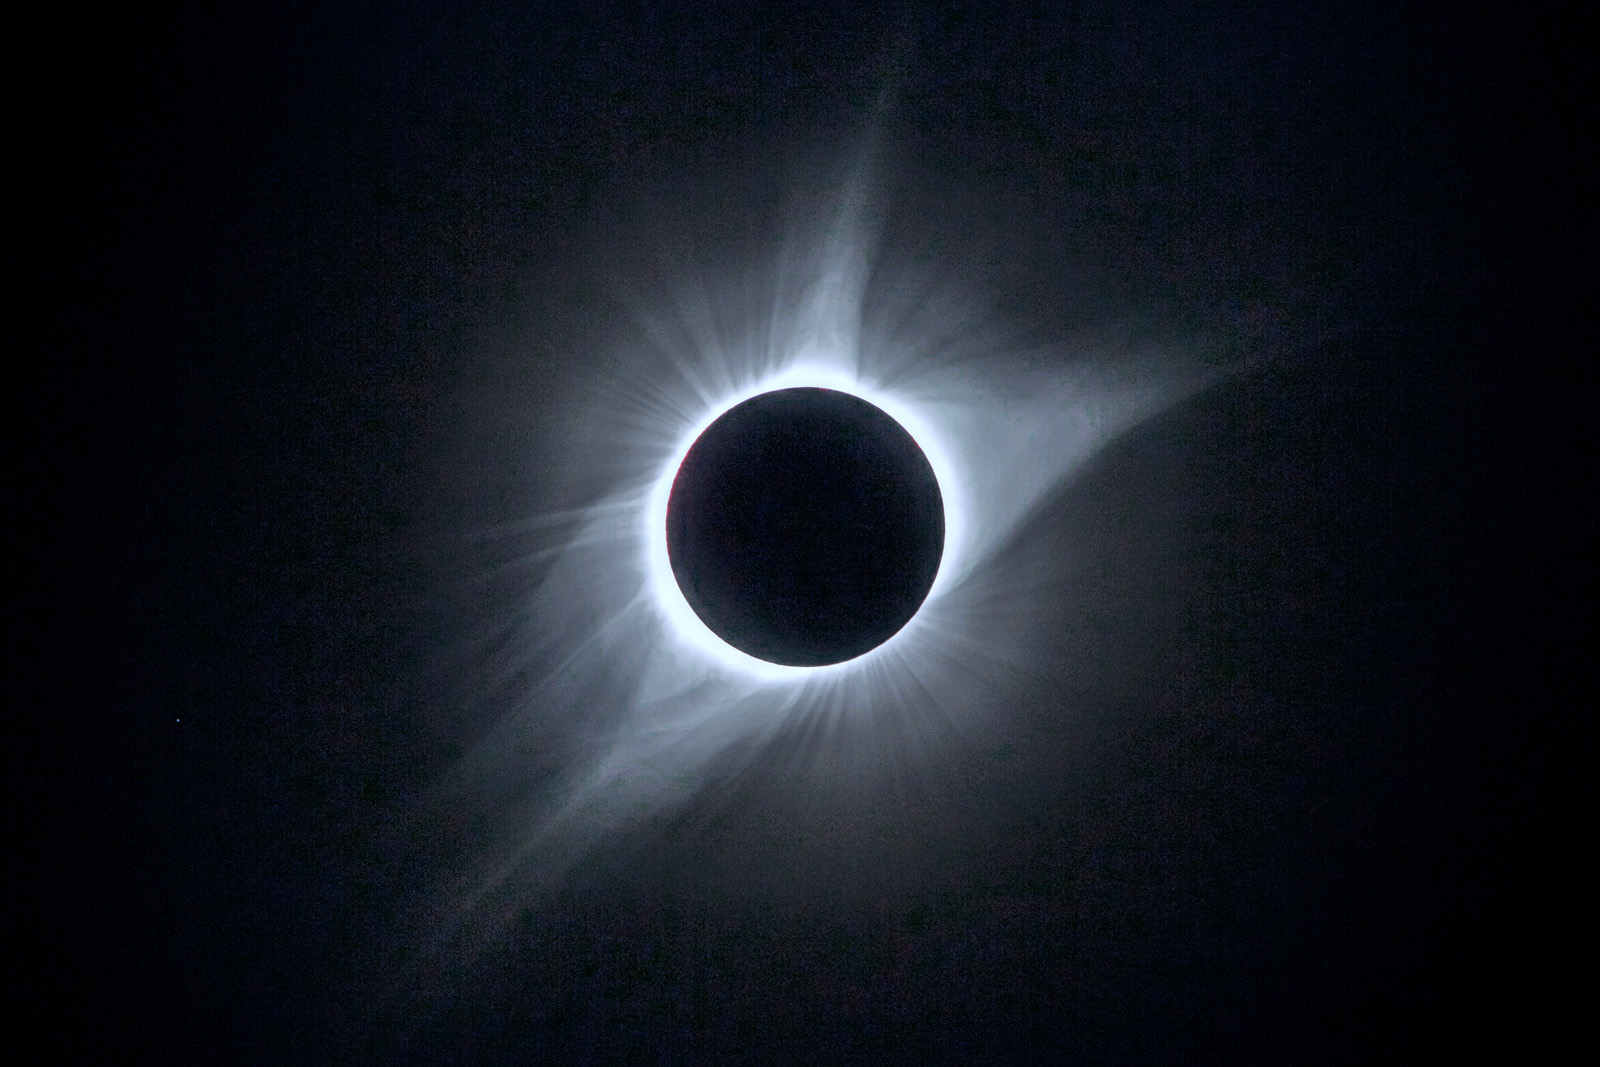
This brings up an important note about expectations. If you’ve never shot an eclipse before, prepare for the worst because so many things can go wrong from dead batteries to bad weather. The big thing for me, though, is the fact that cameras can’t capture the corona in a way that resembles what we see. My guess is that this is a dynamic range issue because our brains are really good at dynamic range while cameras pale in comparison. In order to get close to what you see in the sky you’ll need to take multiple exposures and stack them in software. Unless in the next seven years someone invents a camera with 128 bits of dynamic range (most these days are 12 or 14 bits) which would be pretty darn cool.
Collages
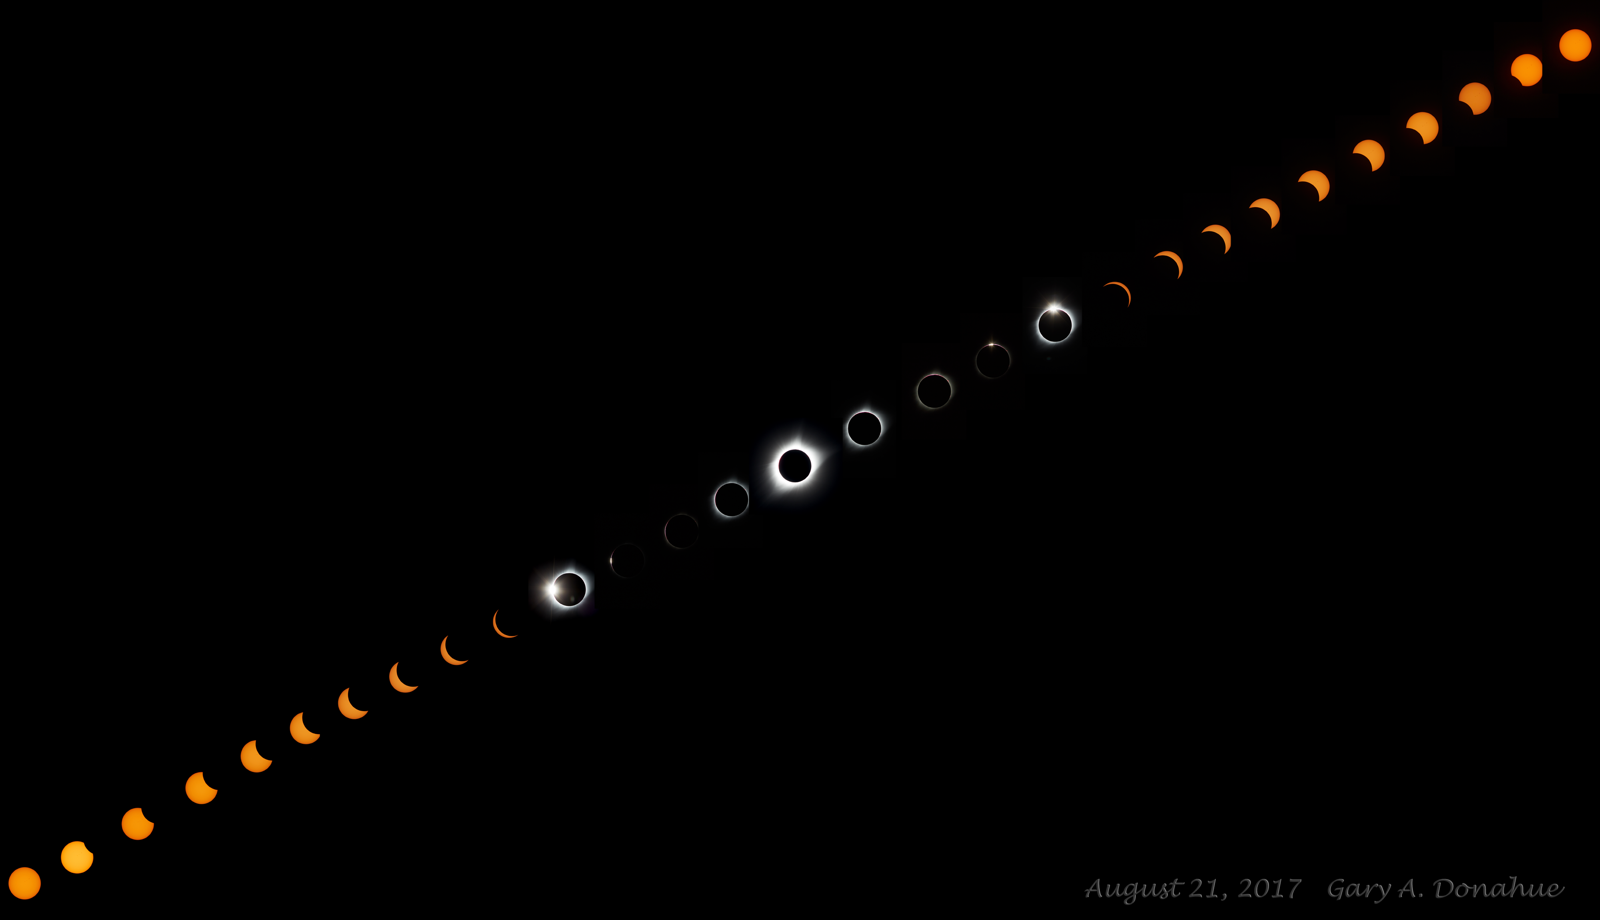
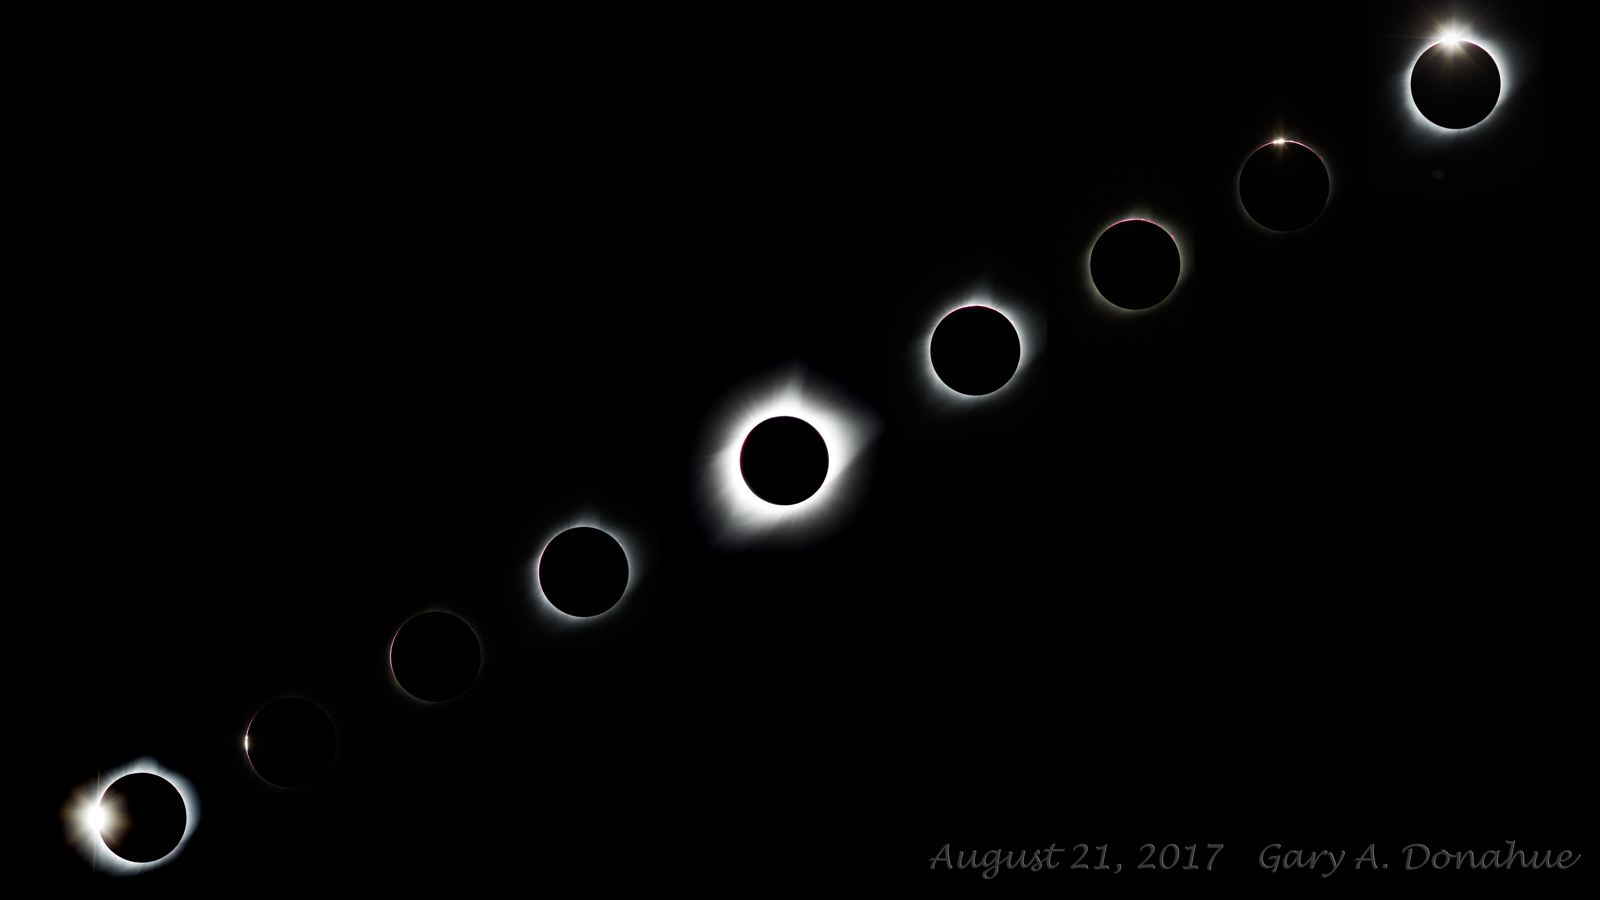
What I like about the second one is that you can see the changing position of the diamond ring and Baily’s Beads based on their position in the event,. For both collages the procession is from left to right, C1 through C4 for the first, and C2 – C3 for the second.
Things I learned
- If you can manage it, bring chairs. Bring one for the laptop!
- Have a USB cable that’s long enough to reach the laptop on the ground with the camera up on the tripod.
- Make sure you keep your equipment cool
- Stay hydrated!
- Bring multiple cameras!
- Bring multiple binoculars
Or, if you want, forget all the gear and go see the next ecplise no matter what it takes. Words cannot describe how amazing it is in person.
And finally, this, which is an animated gif that I made with all of the photos I took. It took longer to perfectly align the images than it did to watch the damn eclipse!
One last note – if you want to take pics like this expect to spend a lot of time post-processing. I mean, a LOT of time. Shooting an eclipse for results like these is a lot of work. It’s totally worth it, though.
Donate: PayPal Crypto:
ETH: 0x0AC57f8e0A49dc06Ed4f7926d169342ec4FCd461
Doge: DFWpLqMr6QF67t4wRzvTtNd8UDwjGTQBGs
Yo! Awesome job GAD (and Colleen)!!! Count me in for those collage prints. I’d love both of them if that works for you.
GAD,
I happened on a picture and kept reading. Its been a great night of reading!
Even though this is almost 7 years ago, it is classic GAD.
Great stuff!
Retired these days – with some of your old system builds are still cranking all these years later!
Mike